Long days have passed, but here is a road bike story.
Since the most popular post on this blog is “How to roll bar tape on a road bike for beginners [blog56]”, I wanted to post the second installment as soon as possible, but it’s been a long time coming!
So, this time, I will write more carefully and clearly.
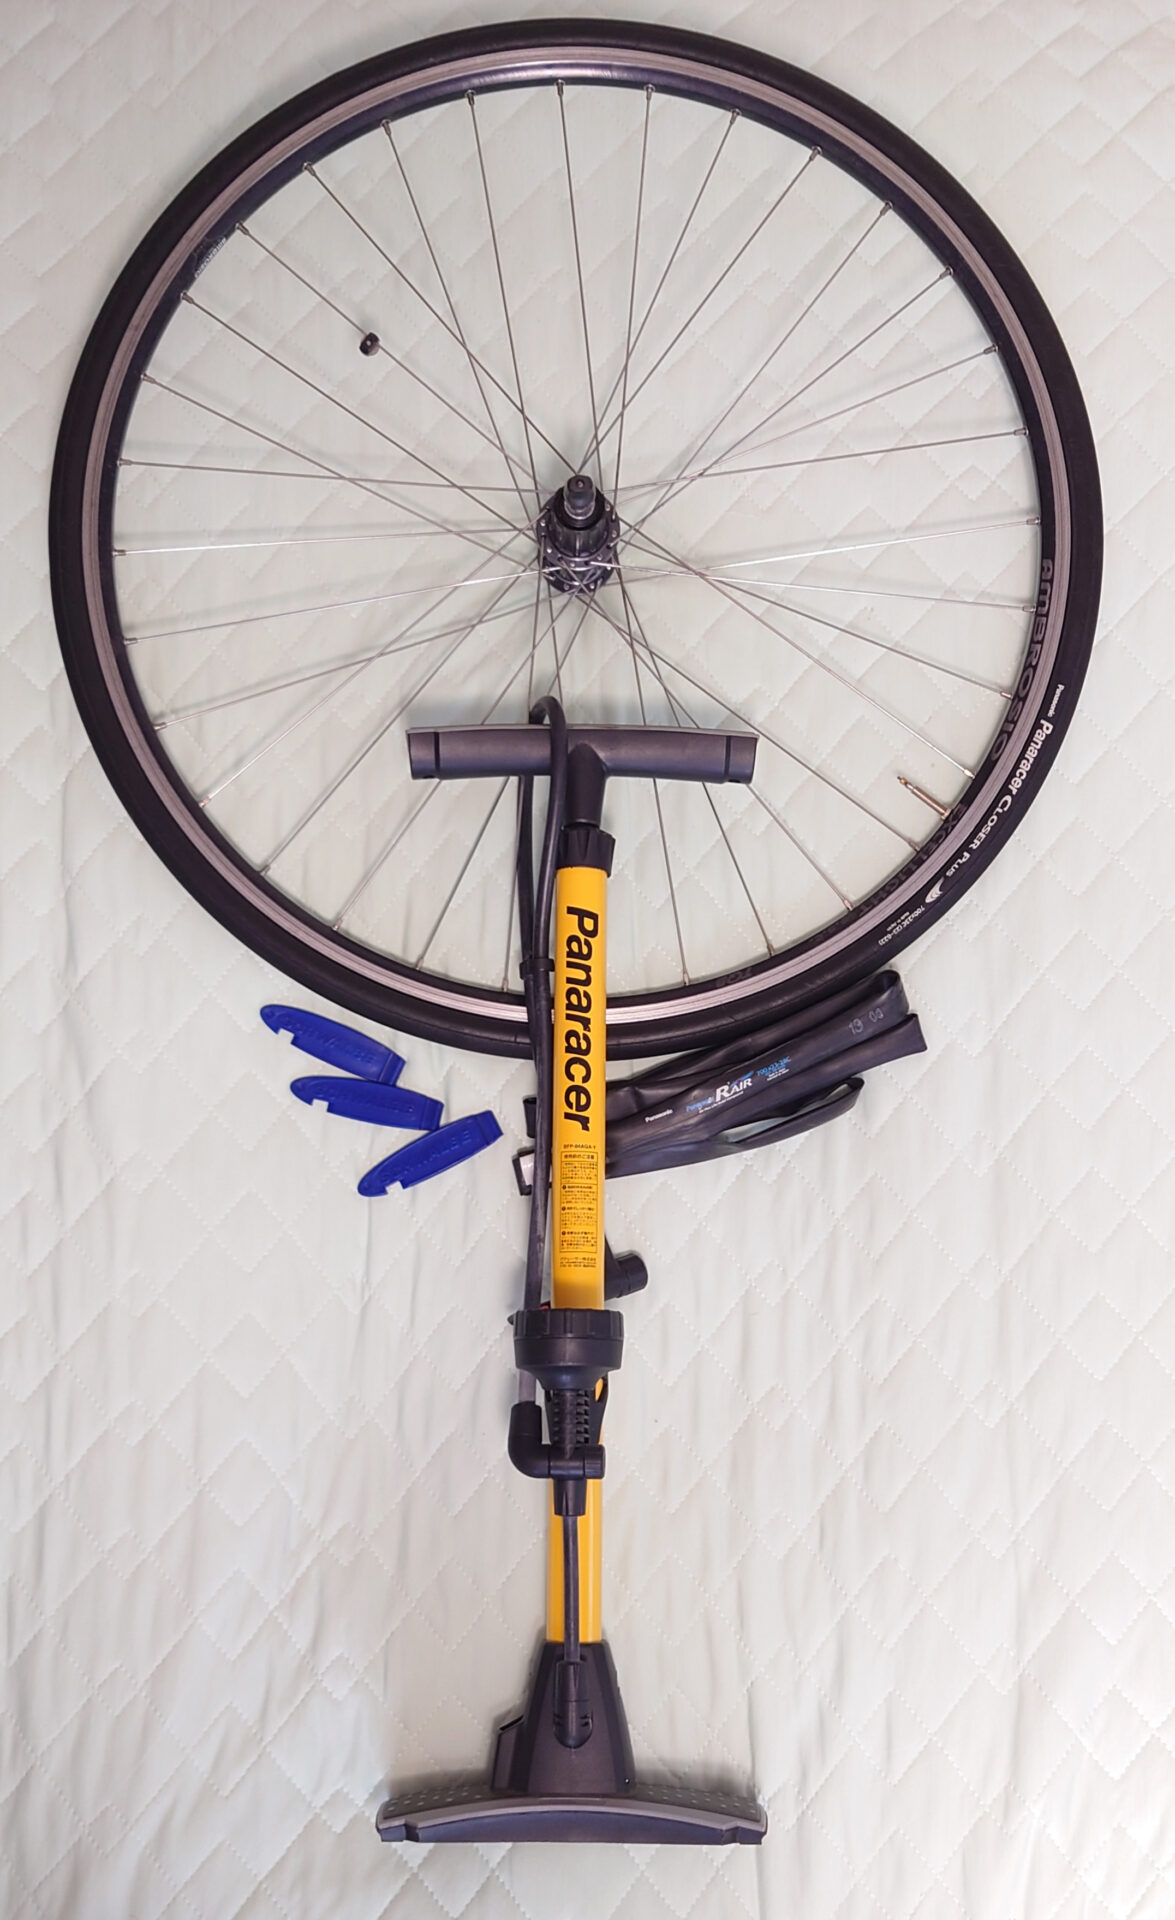
What to prepare
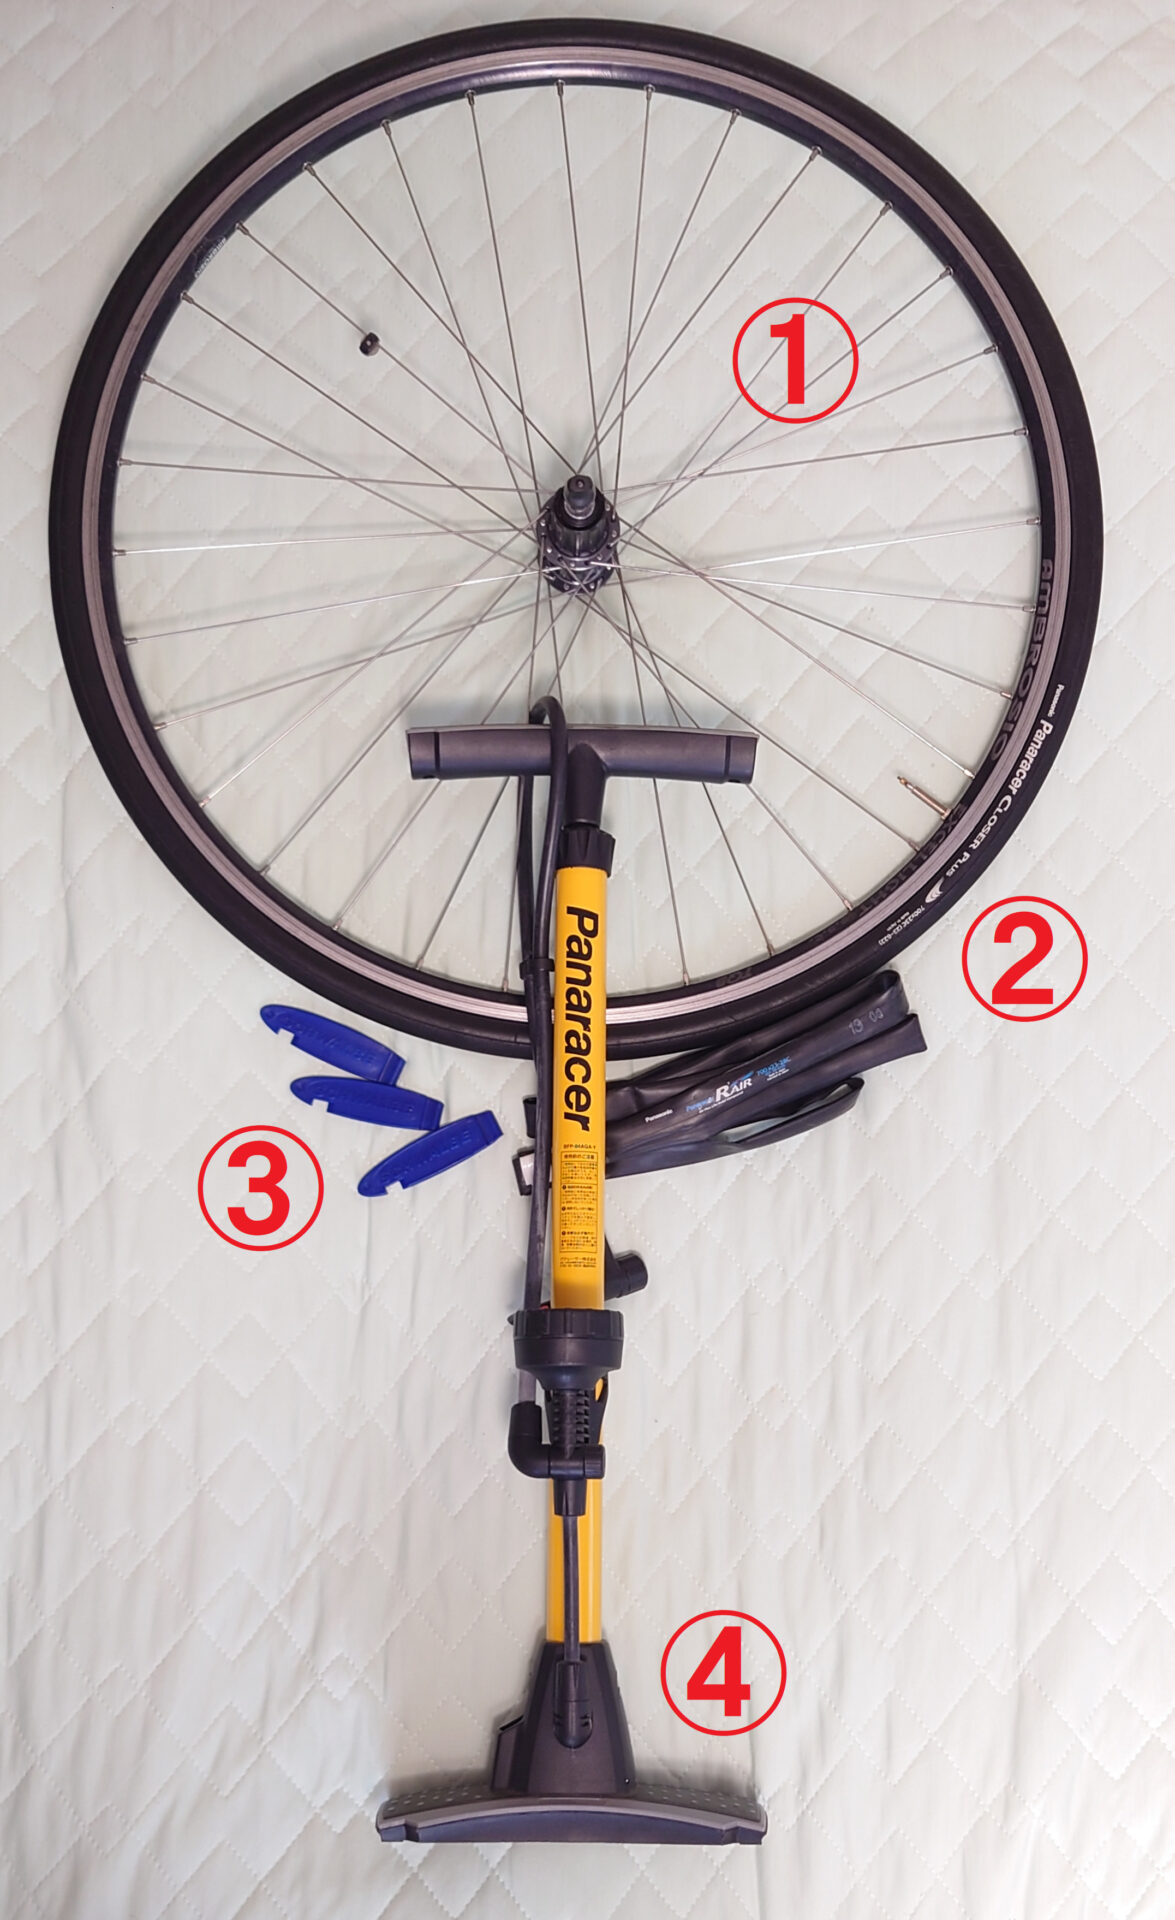
1) Complete set of wheels to be replaced
2) Tube
3) Tire lever
4) Air pump
Separate wheel
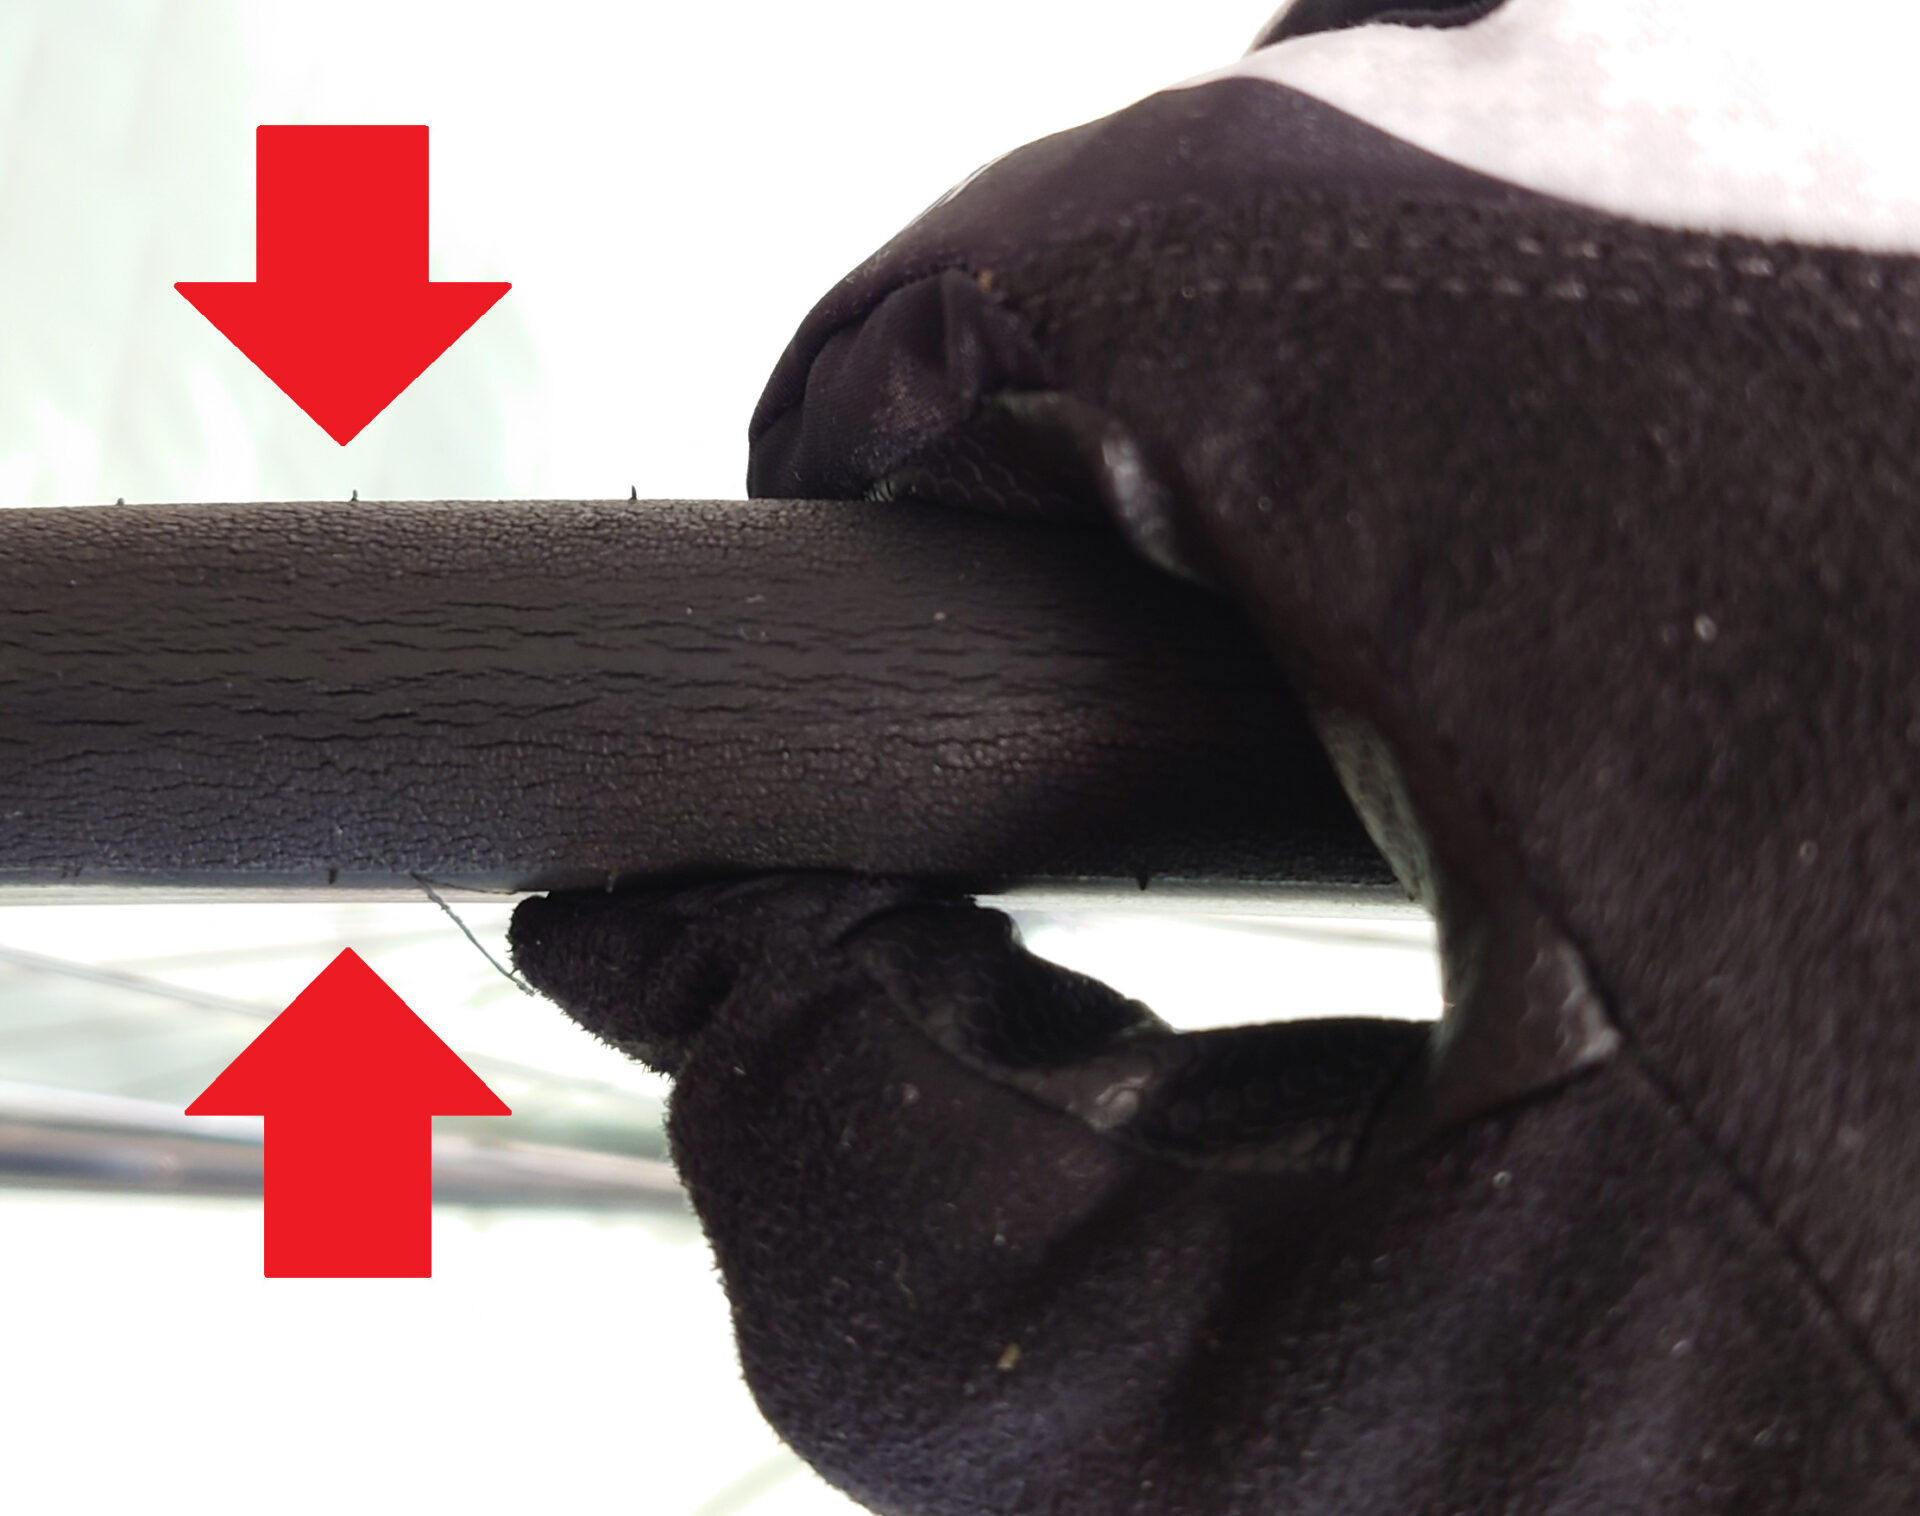
1. release the caliper brake quick release (red circle)
Widen the gap between the brake and tire (red square) to make tire separation easier

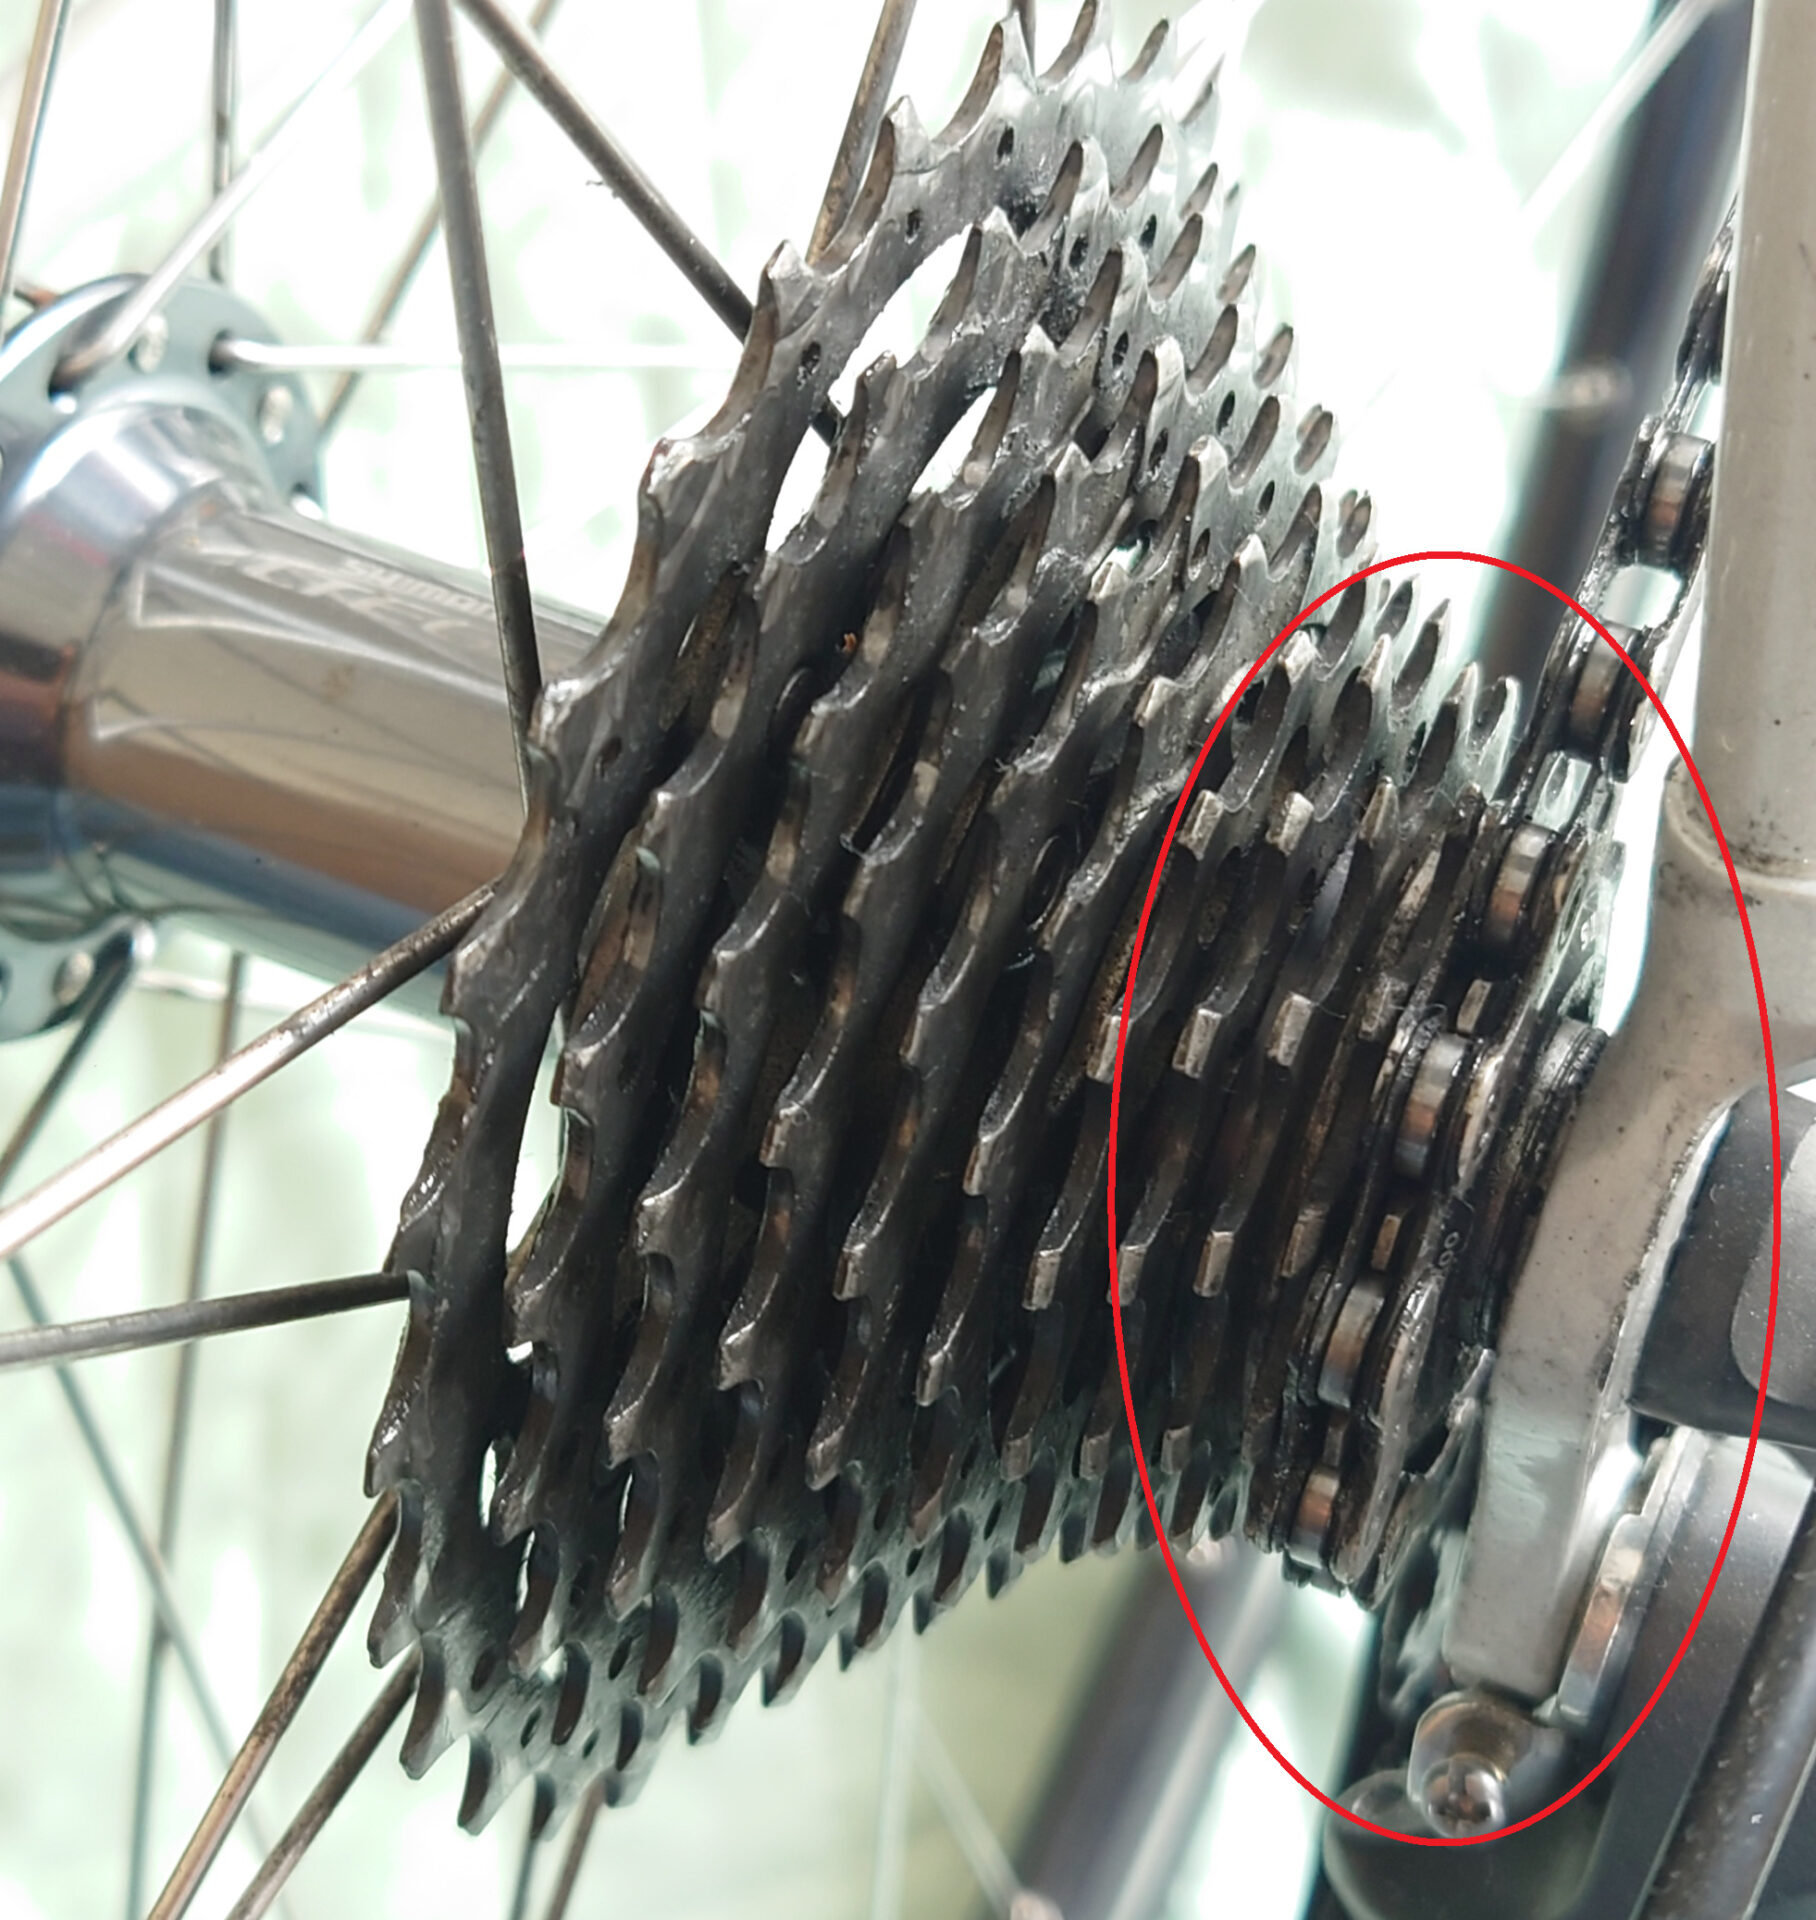
2. switch the rear wheel gear to top (red circle)
This is the easiest way to remove the chain from the wheel.
It is also difficult to misalign the chain when installing wheels.
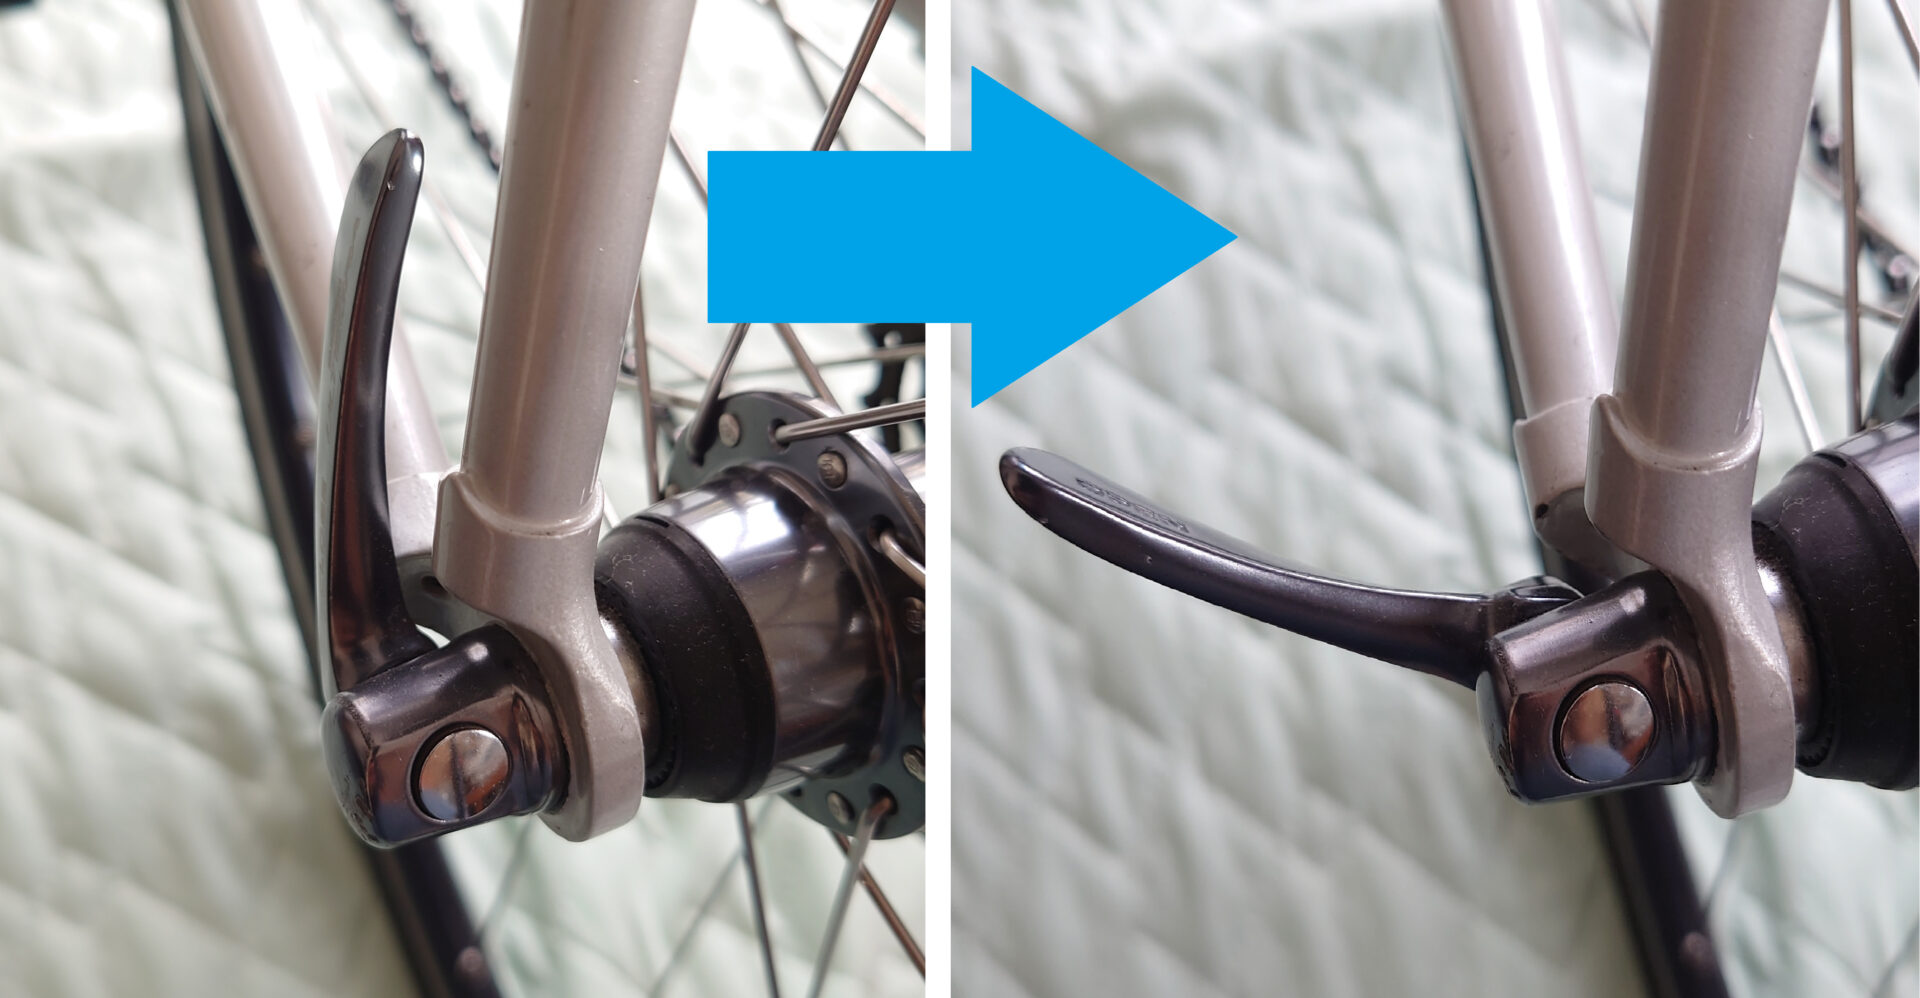
3. loosen the quick release lever
Open the lever as shown in the image and loosen it counterclockwise to disassemble the wheel
When I open the lever by 90 degrees, the tightening force is lost.
This level of tightening force is sufficient to hold the wheel in place, and the wheel has never come off (rule of thumb).
let out air
0. Stick a nail in the tire and let the air out vigorously (a violent lie).
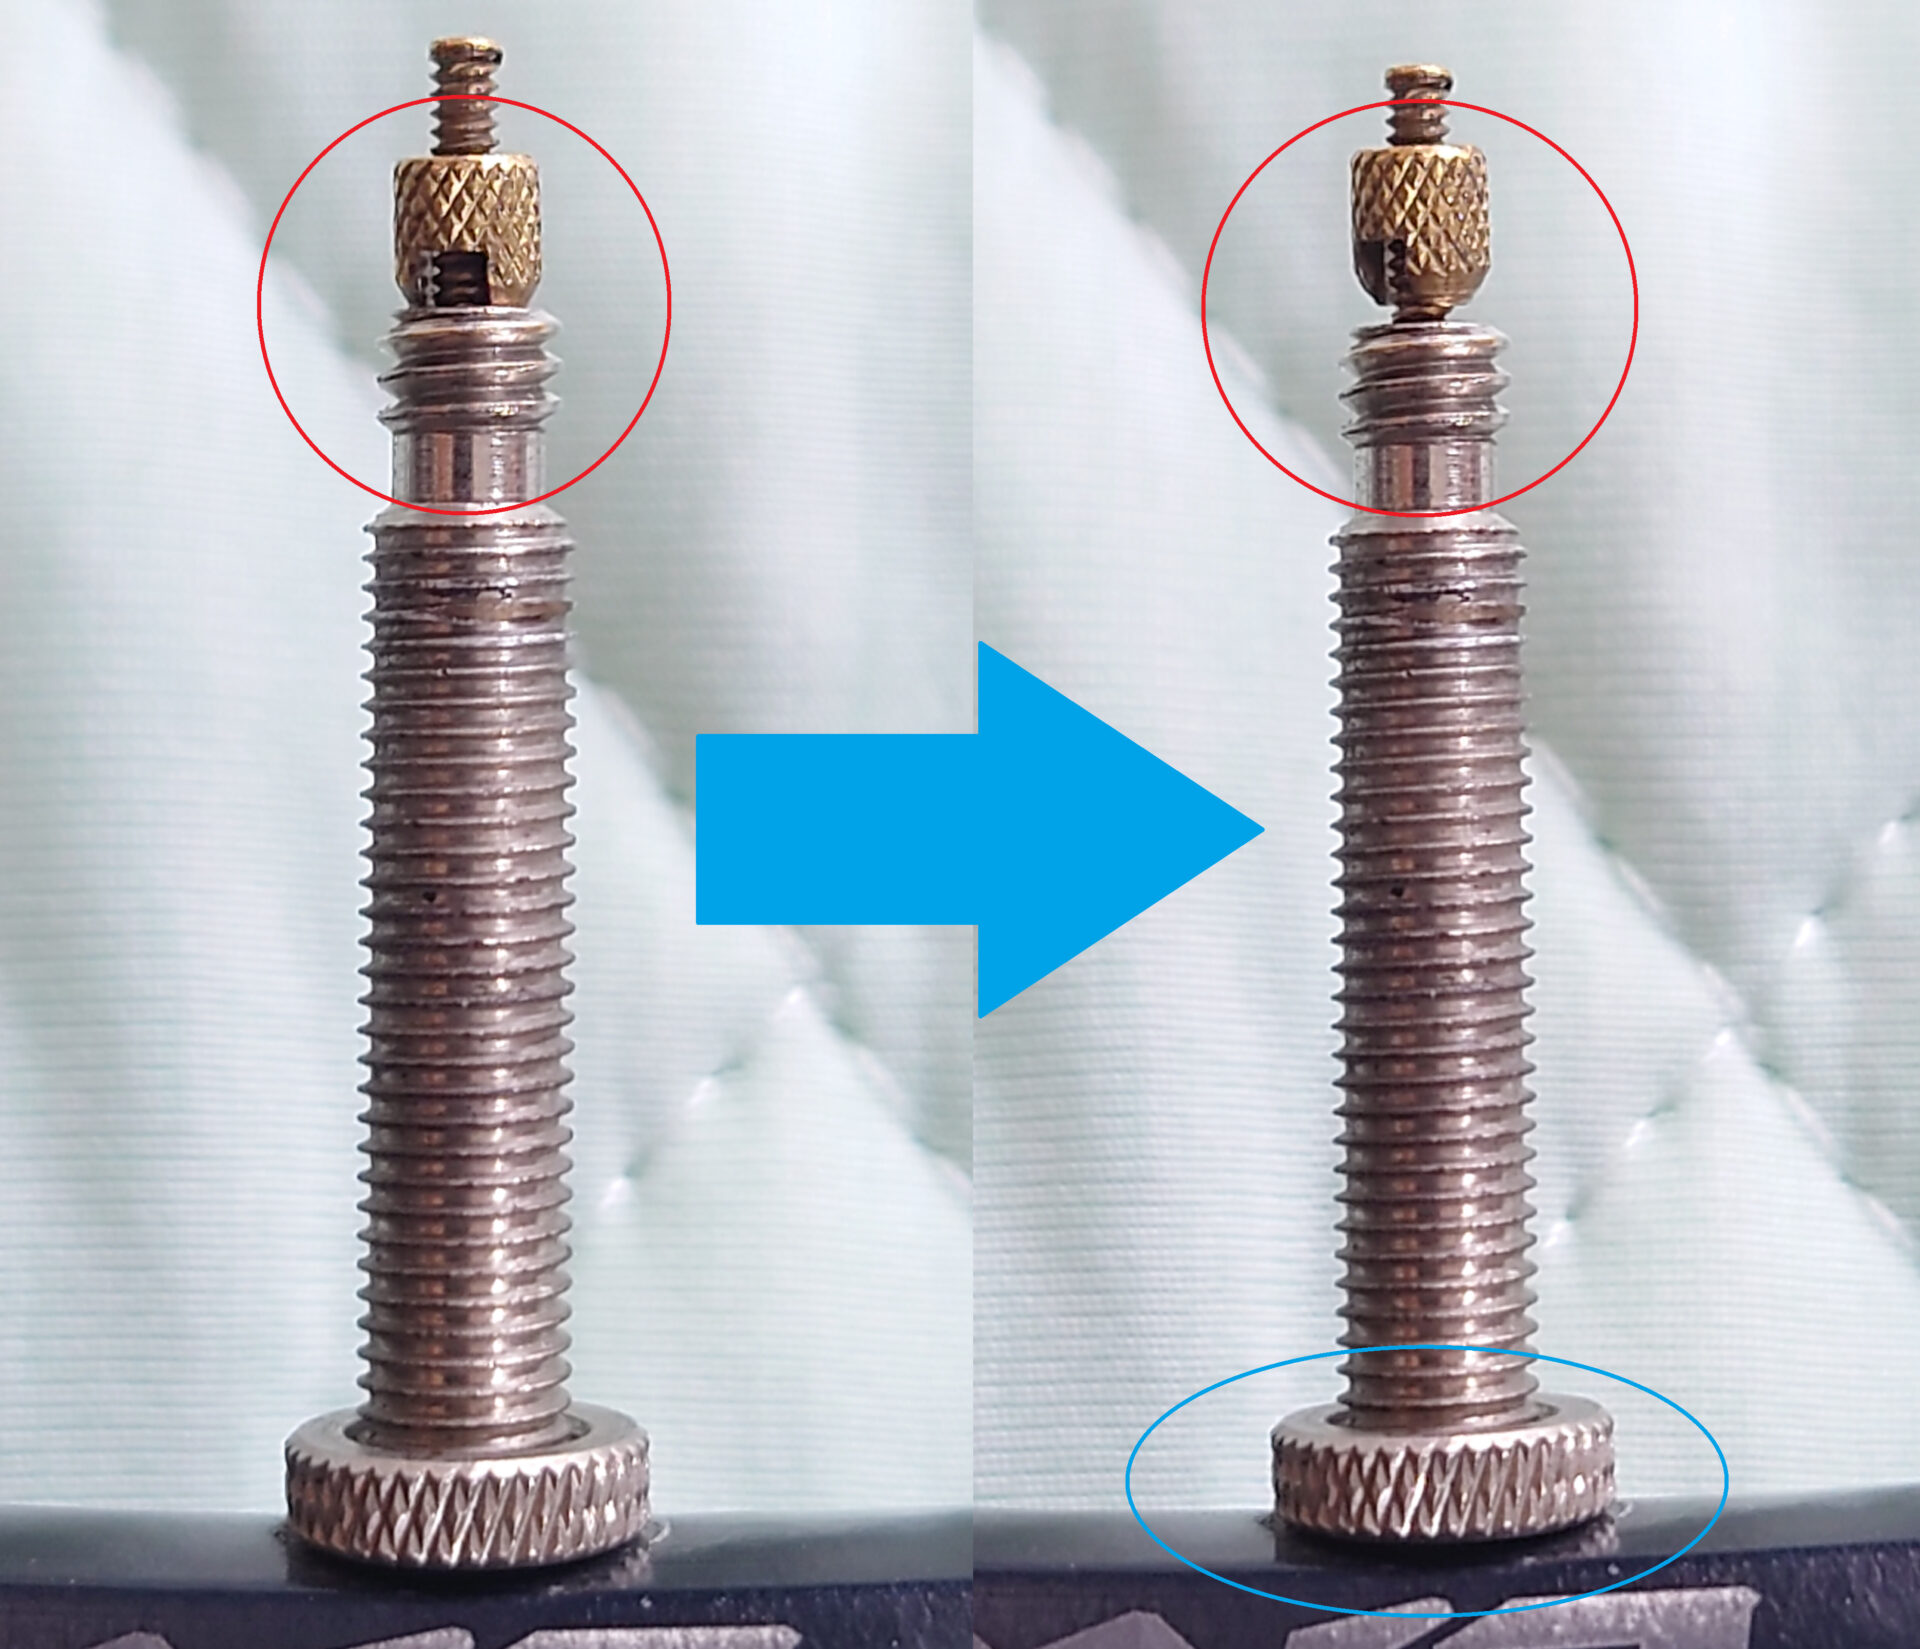
1. loosen the valve (red circle) counterclockwise
2. Once a gap is created, press the valve (red circle) to release the air (just enough to eliminate the sound).
3. Turn the valve nut (blue circle) counterclockwise to remove it.
Valve nut use should be free (as it has good and bad properties)
Tire disassembly
1. disassemble the tire from the wheel using the tire lever.
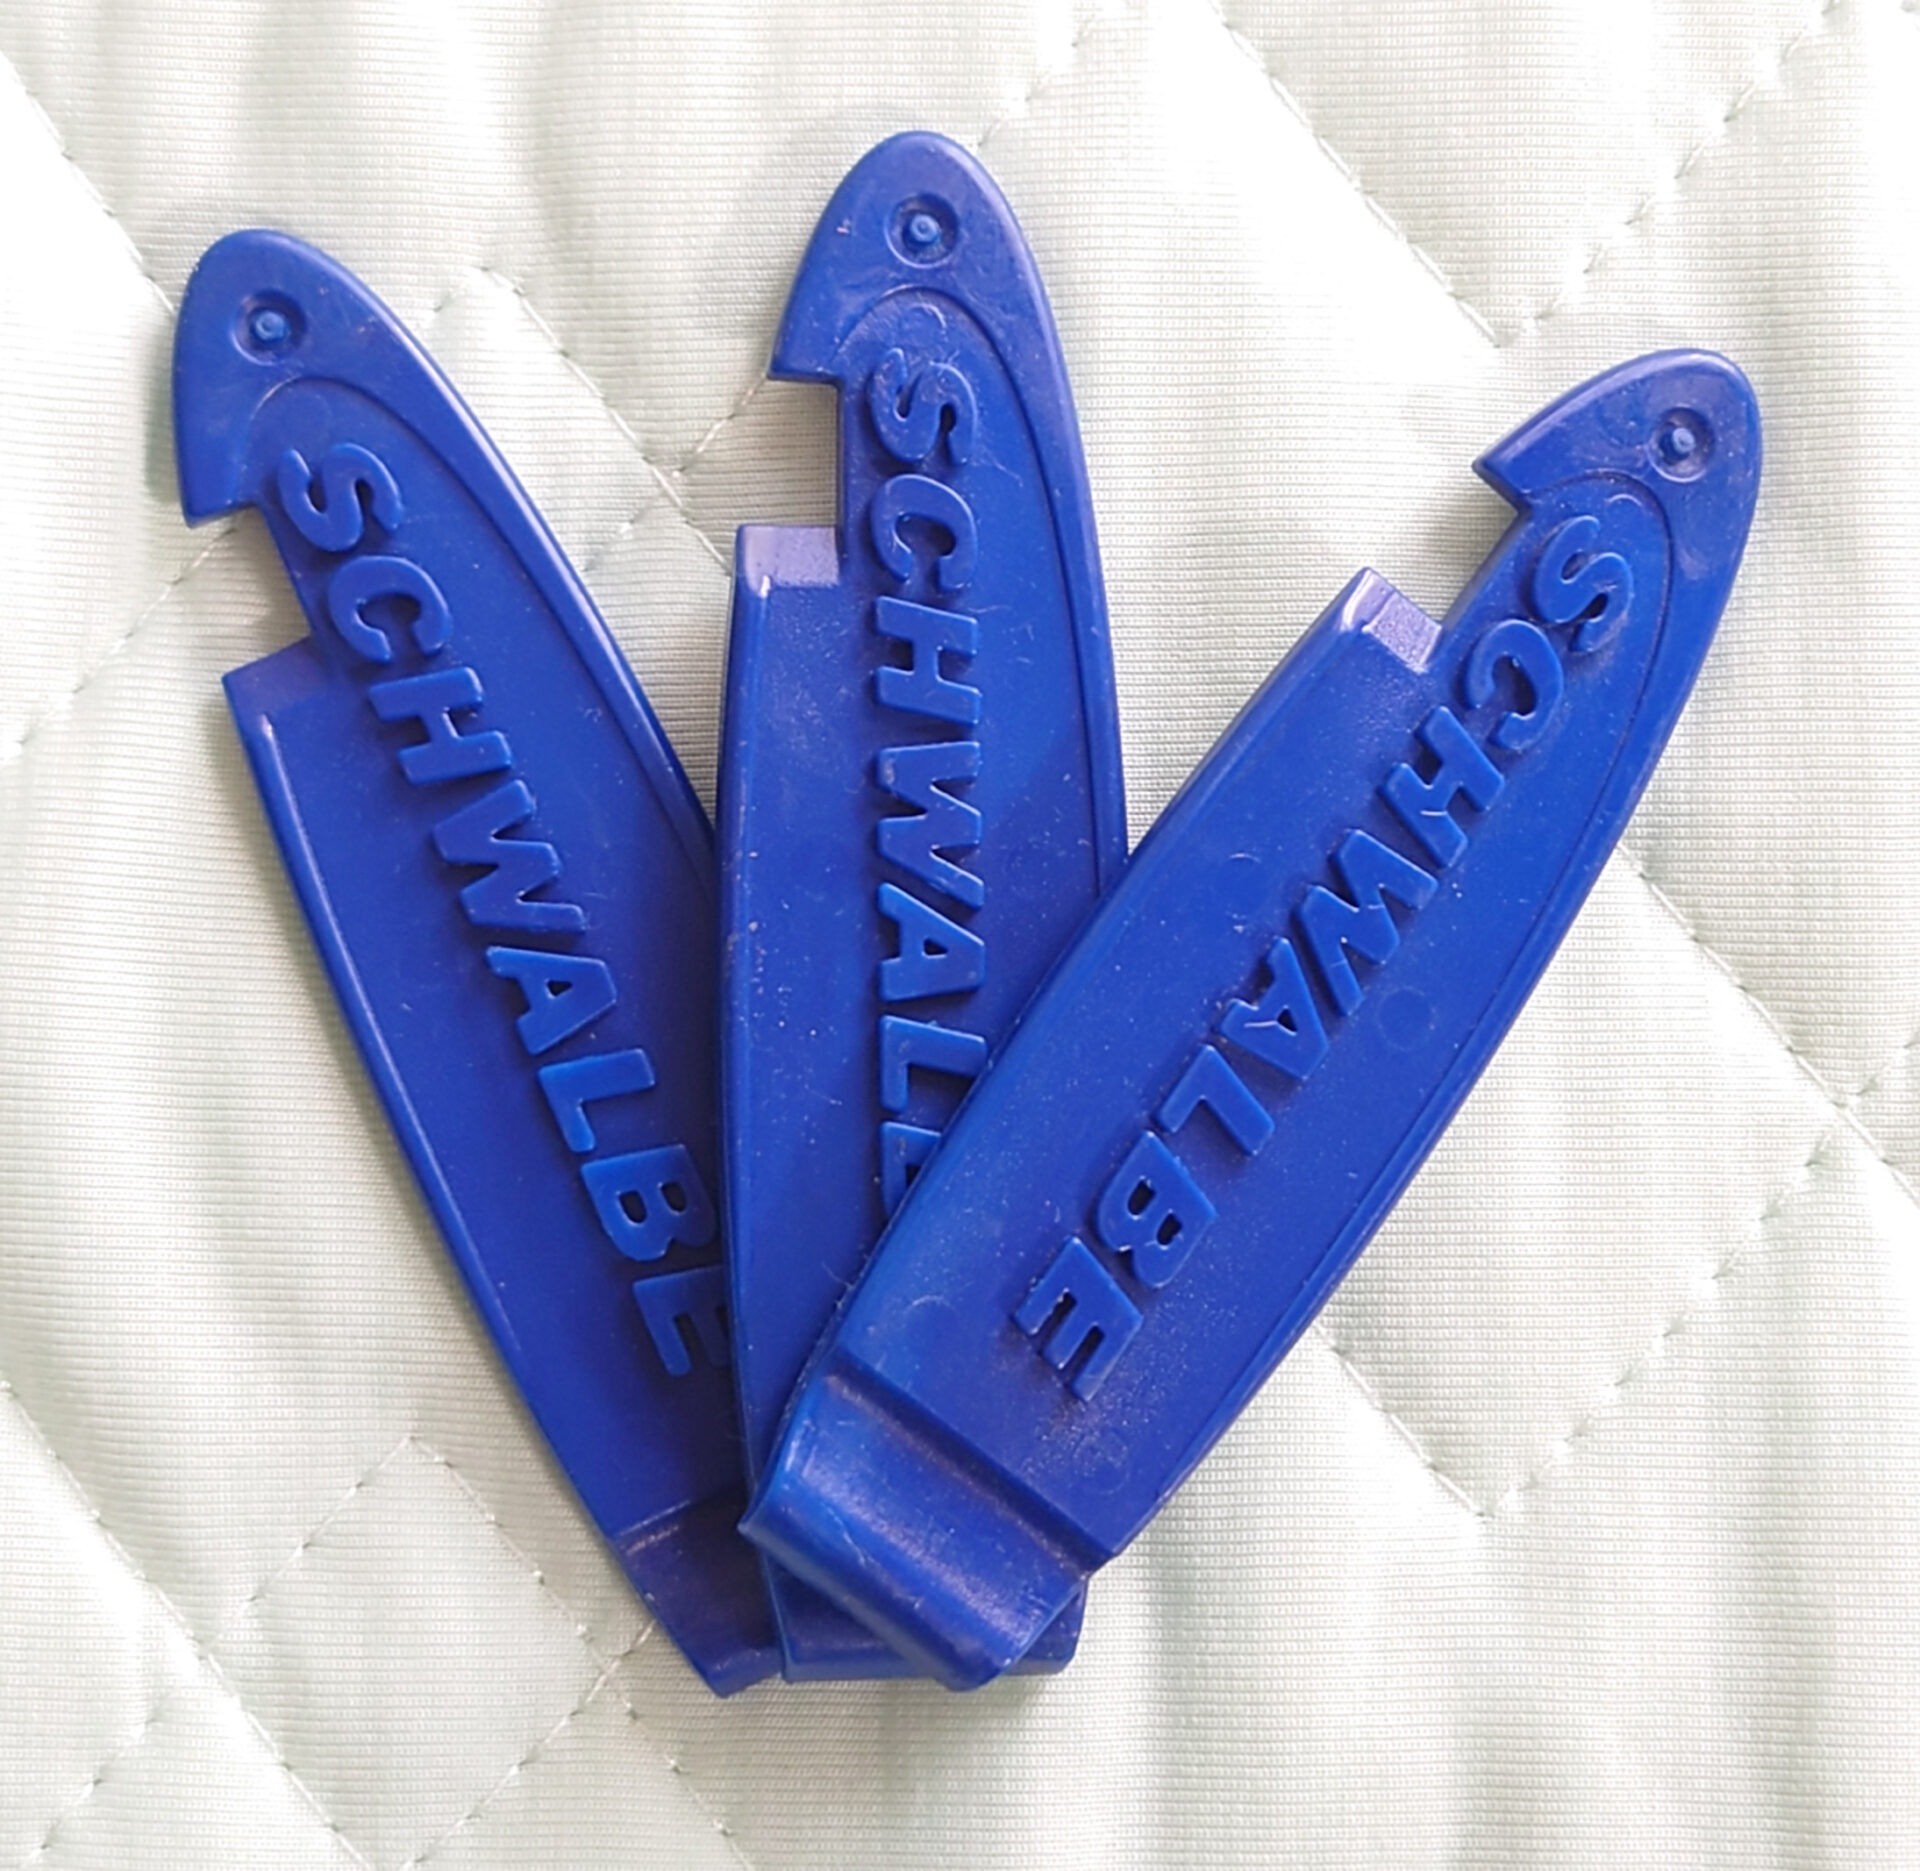
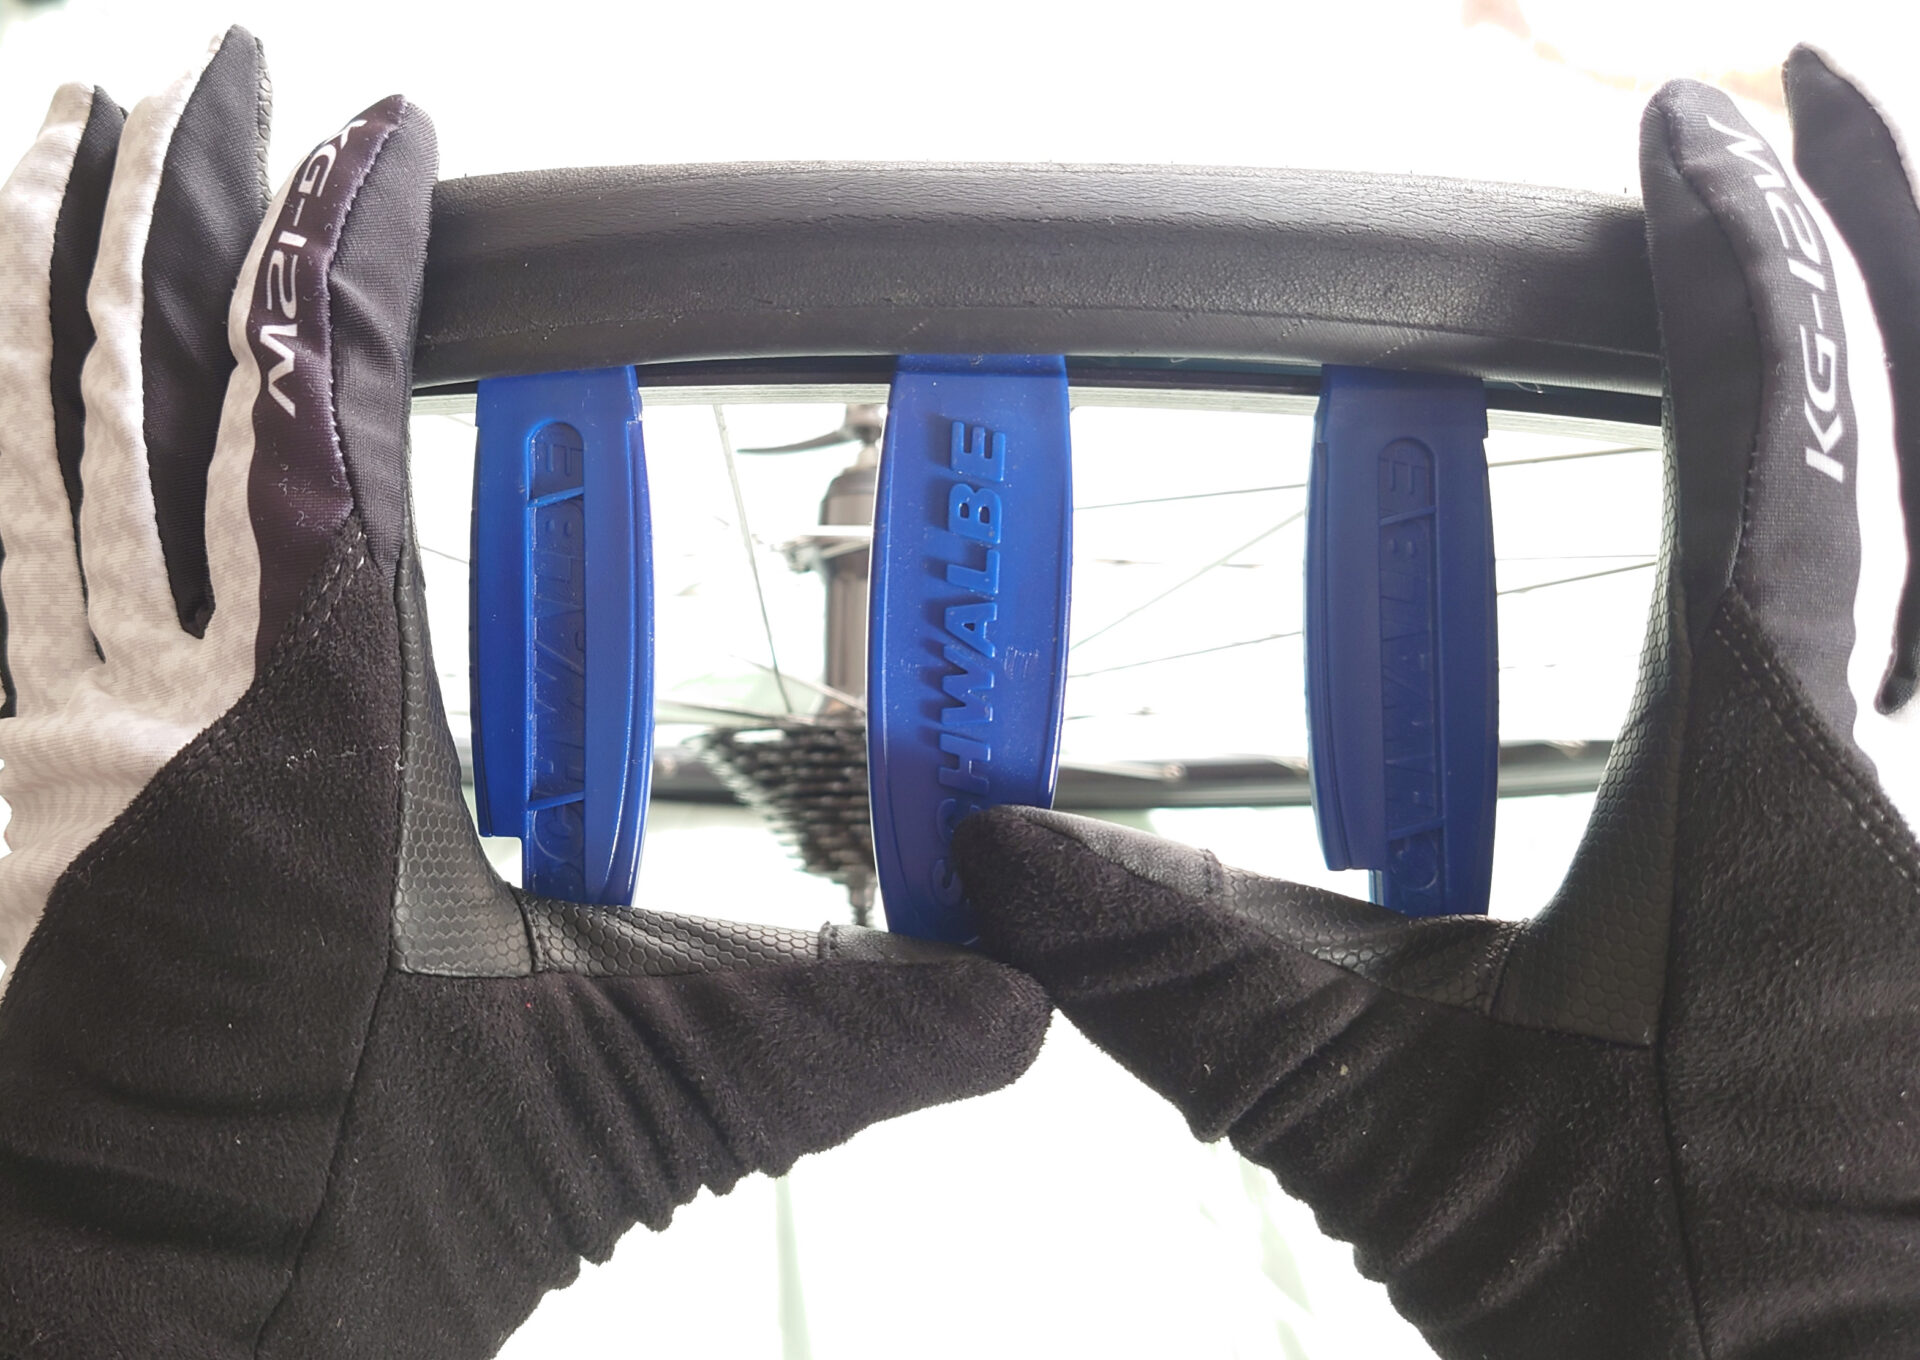
2. 3 tire levers toward the center of the wheel and push to disengage
It is possible to remove a tire lever with two, one, or even just your bare hands (depending on the type of tire).
Once disassembled, check condition
Always identify the cause of a flat tire.
Puncture caused by stepping on a foreign object (damage mark on the outside of the tube)
Puncture over a large bump (damaged mark on the inside of the tube)
Damage marks near the base of the valve (e.g., deterioration damage)
If a flat tire is caused by stepping on a foreign object, visually check the inside of the tire and remove it.
Not necessarily in only one place (rule of thumb).

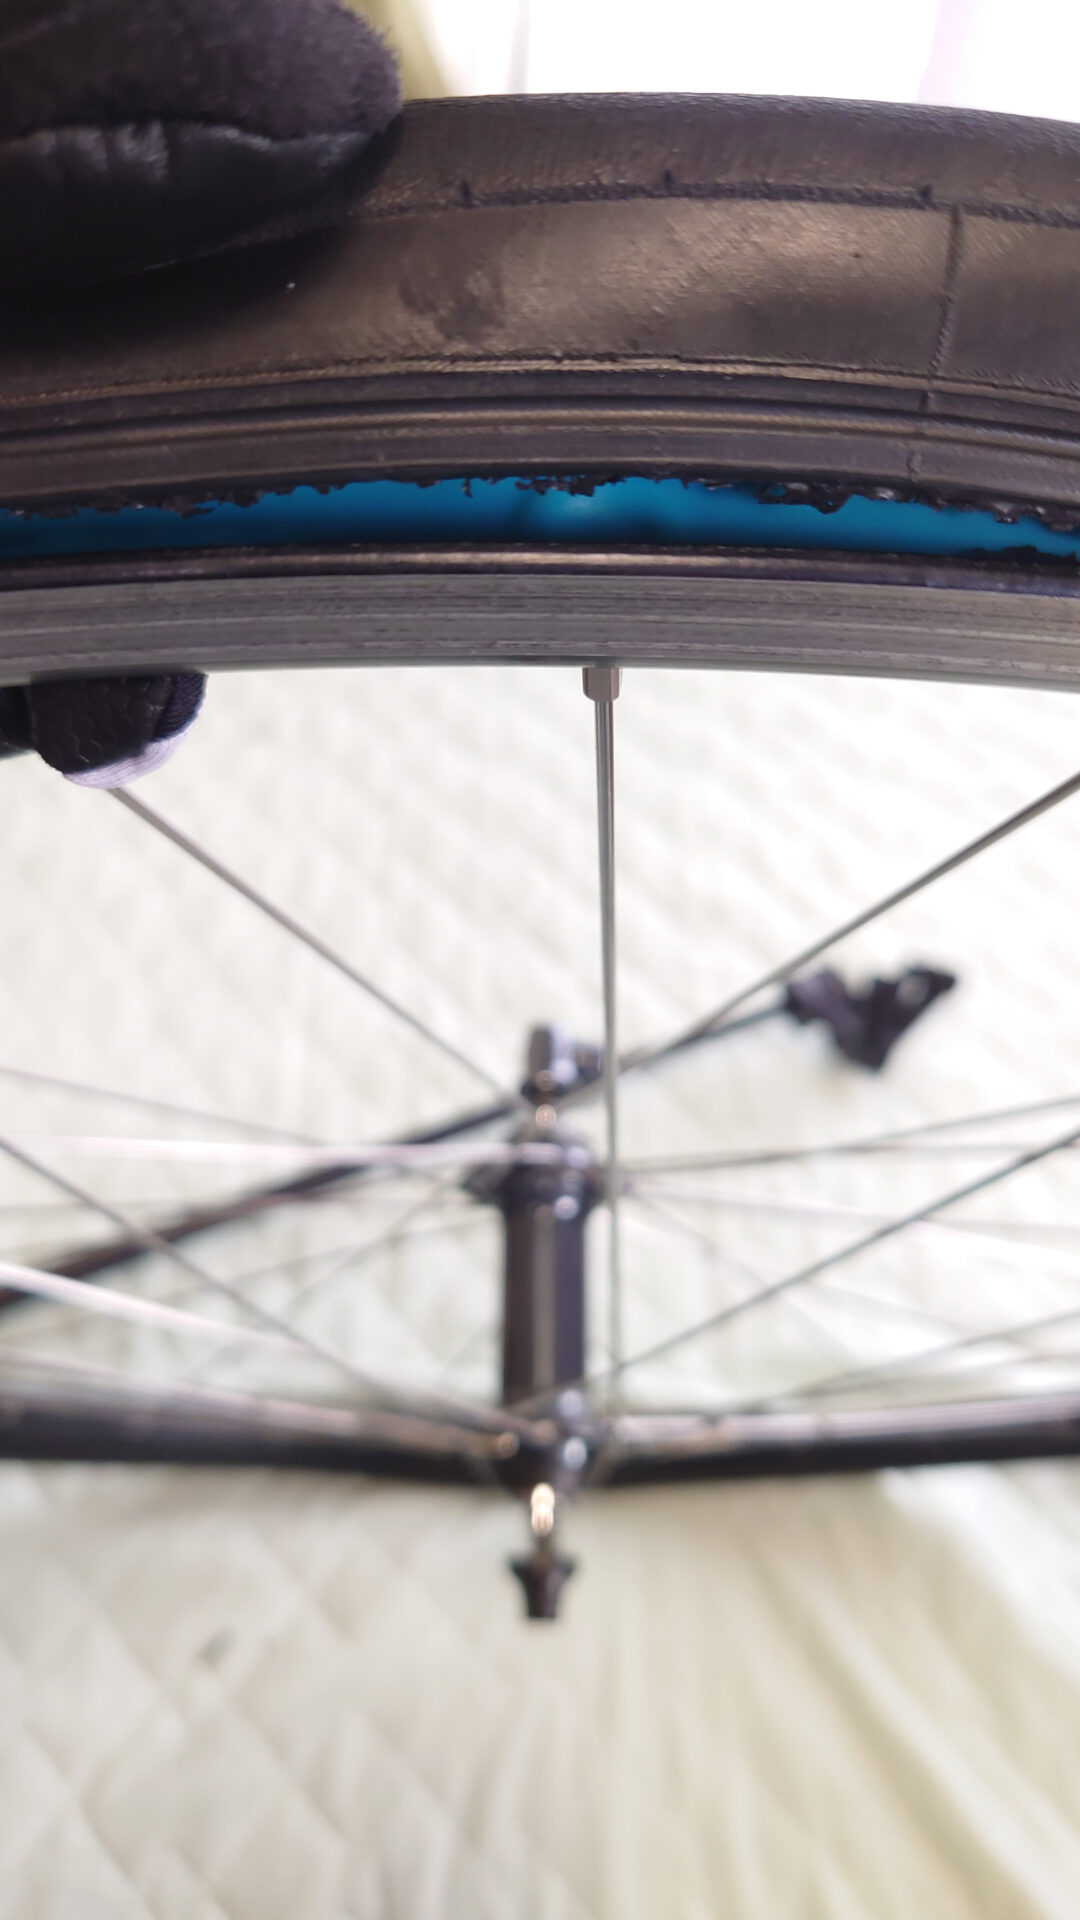
The blog site administrator’s tire replacement revealed that the rim tape had deteriorated to the point where it looked uneven, like an octopus sucker.
The image shows nicely, but some discoloration is actually present.
It’s time to replace it, but I don’t have any spare rim tapes, so I’m going to buy some after I finish updating this blog
Tire mounting
1. fit the tire all the way around on one side
2. place the tube into the tire
The tube should be lightly inflated to prevent chewing.
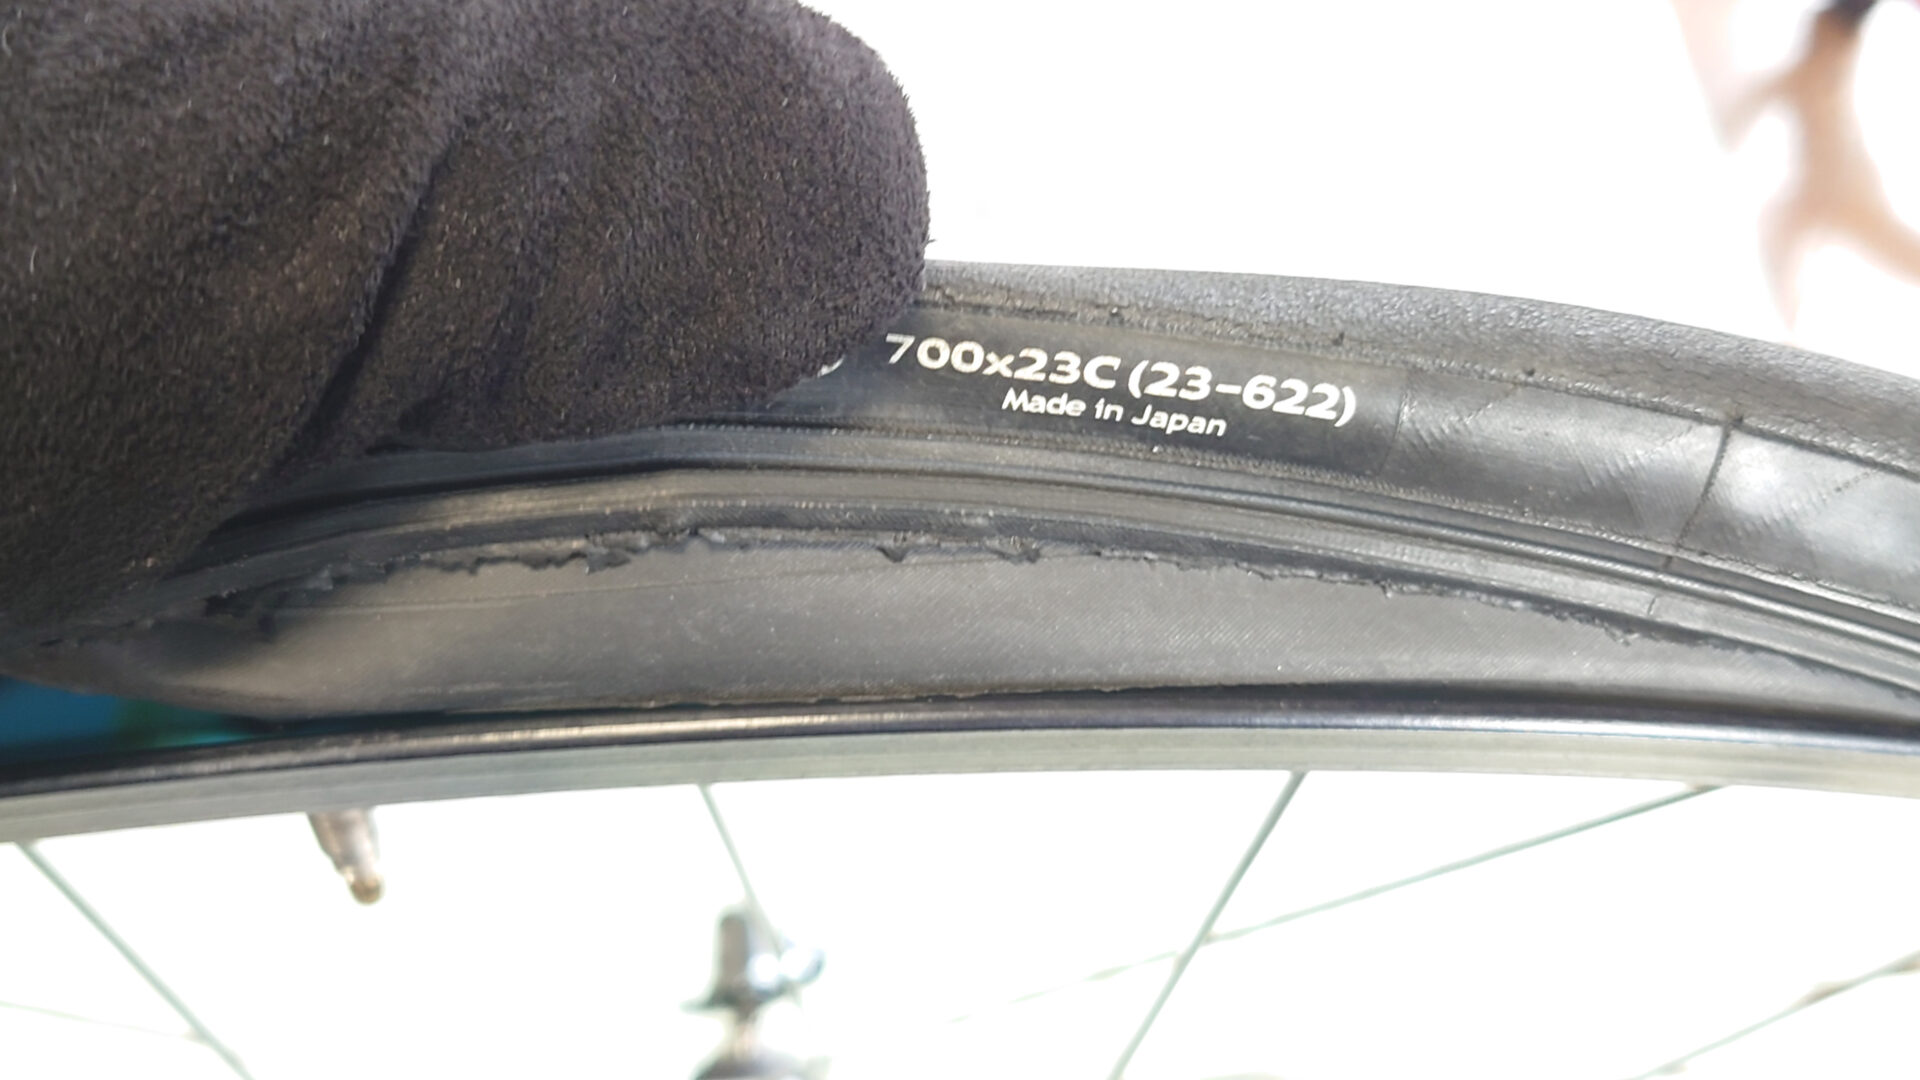
As an extreme example, if you chew on a tube, it will look like the image below
It would be nice if it could be visually confirmed, but it can actually occur on the inside of the rim!
If you fill it up with air in that condition, you will get a flat tire in the worst case (tearful experience).

3. massage with some air
After filling the tire with some air, imagine that the tube has been chewed and massage the tire all the way around to remove the chewed puncture!
However, the effectiveness of this massage method is not certain (rule of thumb).
4. inflate the tire to the correct level and the tire change is complete.
Installation of wheels
1. Always check the brakes after the wheels have been installed.
When the brakes are applied, check that both the left and right brakes are hitting the rim at the same time.
If the wheels are not touching at the same time, the left and right sides of the wheel may be out of alignment with the true position of the road bike.
If this is the case, reinstall the wheel.
2. check gear change
Check if it is possible to change gears from top to low.
Going one step higher

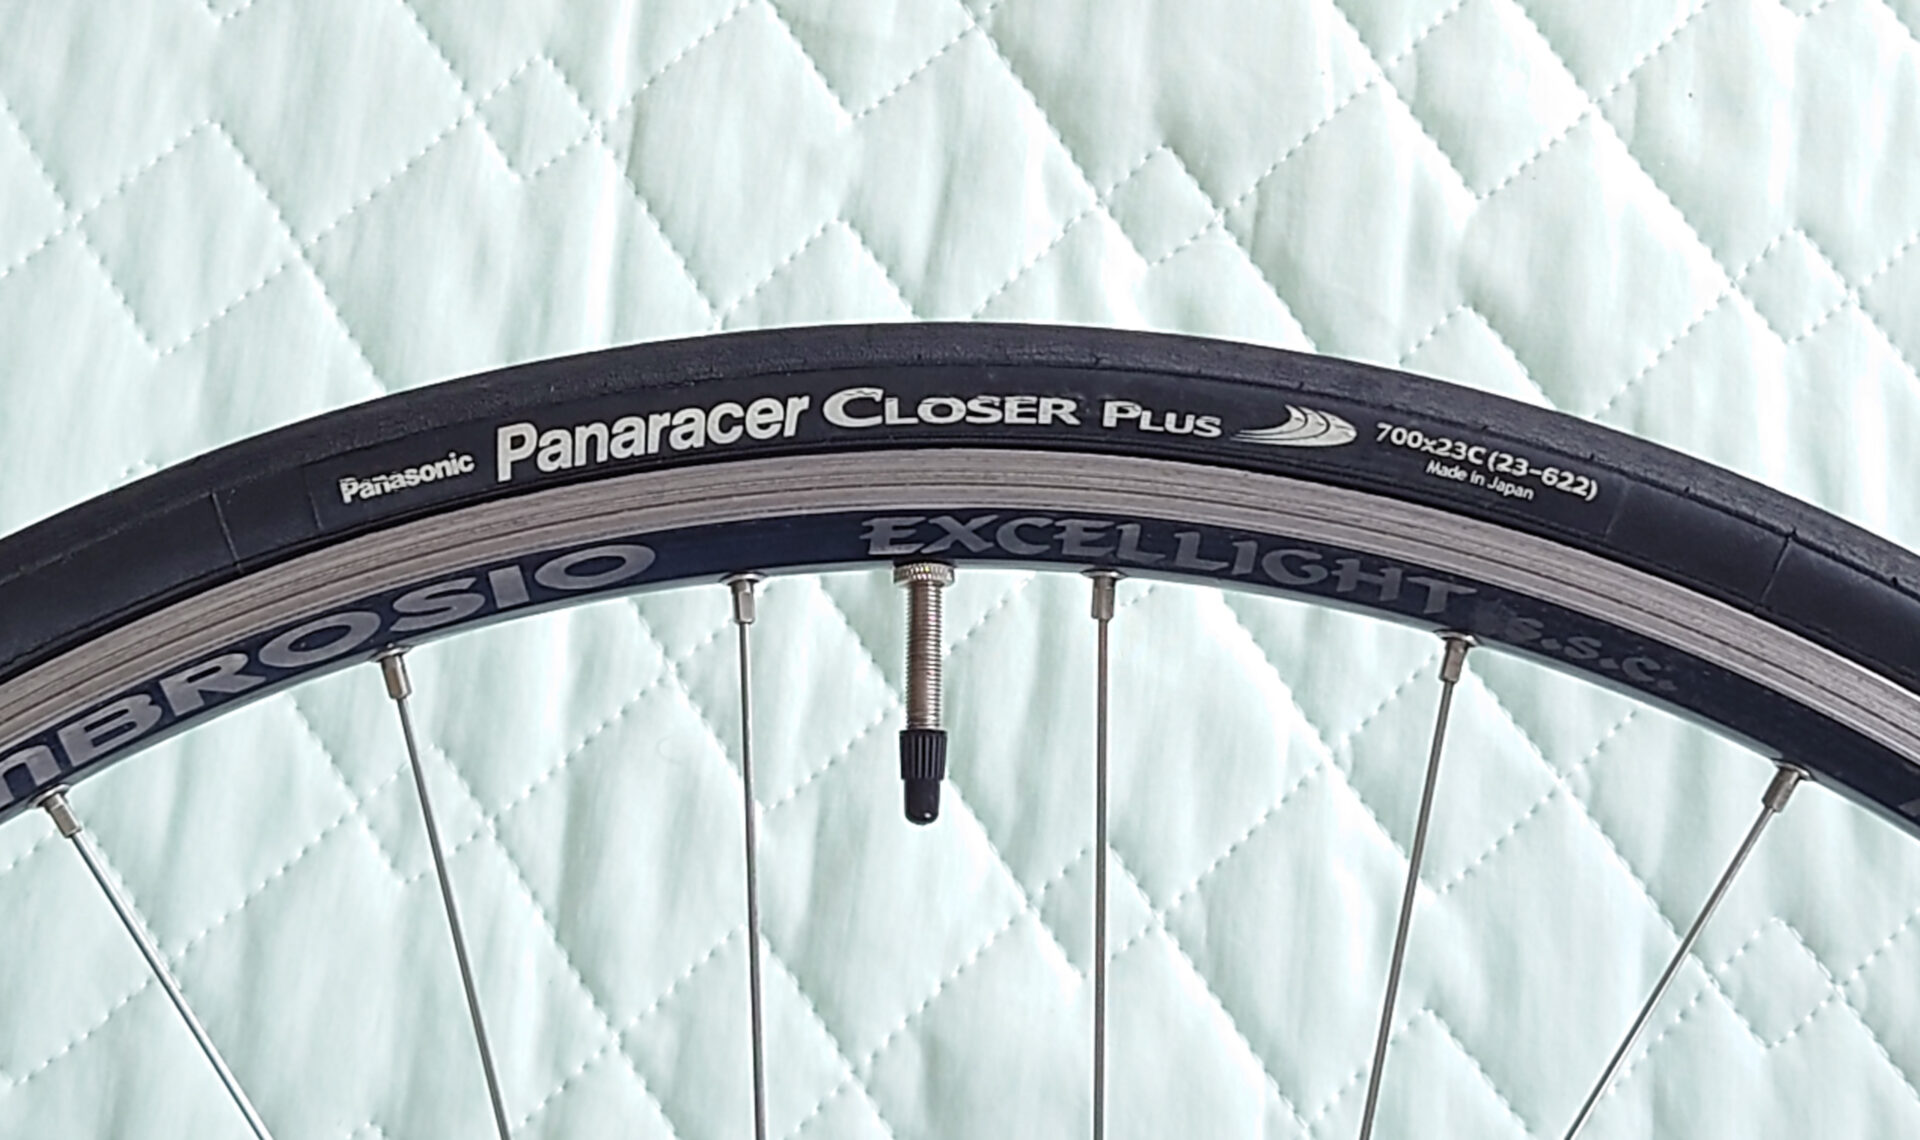
The valve should be positioned in the middle of the tire logo for an ace look.
The reason for this is to quickly locate the valve from the logo in the event of a flat tire.
It will help to shorten the time in races, etc. (Now, a spare tire is a must…)
Ace people can casually look at what they need to look at and assess their opponent’s ability to do the same.
At the end
The second installment of “Road Bikes for Beginners” has been posted
I think about the structure when I post, but when it comes time to write it down, I change it many times
I am not sure if I am getting the message across to beginners,I will continue to think about it and post “Road Bikes for Beginners” in the future!
[Sponsor Links]

コメント Comment