Riding on the calm mood of the New Year holidays, I bought a laptop Wifi card at Amazon’s first sale!
So, this blog is about laptop wifi card replacement!
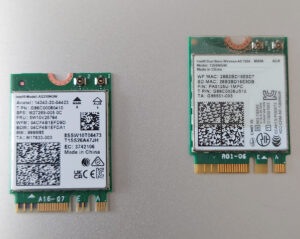
(1)Install driver
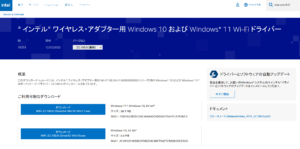
The manufacturer of the Wifi card is Intel, so I visited their website and downloaded the drivers
As a side note, don’t you guys want the +- driver to be unified with one of them?
I’d have fewer tools that way…
(2) Remove the laptop cover.
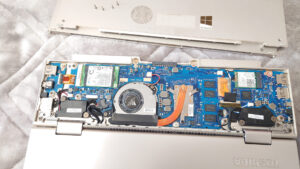
Remove the screws with a precision screwdriver and carefully open the cover
(Be careful not to damage the screws by forgetting to remove them)
(3) Take the antenna, screws and Wifi card.
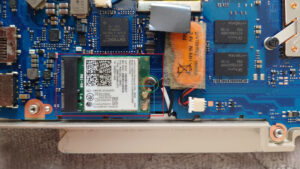
Blue square: Wifi antenna line
As it is stuck in the Wifi card, pull it up vertically and remove it (pinch it gently with your fingers)
Green circle: Wifi fixing screw
Take it with a precision screwdriver
Red square: Wifi card
Move horizontally and pull it out from the slot section
Wifi cards come in different sizes and shapes
Please be careful when purchasing!
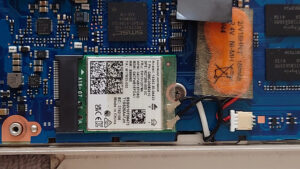
Image after replacement
It’s the same except for the printed text
(Naturally, the picture will be uninteresting from a blogging point of view)
Emptiness
(4)Install driver
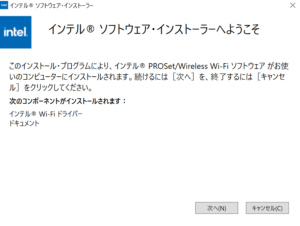
There are many ways to install the software, but this time, thanks to Intel, I was able to follow the installer’s instructions and successfully complete the installation!
(5) Status check
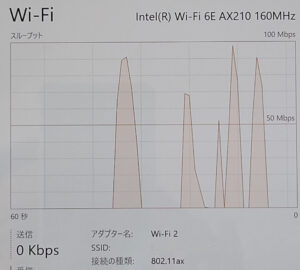
Click on Task Manager -> Performance -> Wifi to check the status
Look at this speed!
It’s going to be faster than the Star Wars Millennium Falcon! Maybe!

At the end.
In general, if you want to change Wifi quickly, USB Wifi is easy
But with a laptop, it gets in the way when you put it in your bag
It’s not smart looking either
So I decided to be adventurous!
Read also
[Sponsor Links]






コメント Comment