This is the third post in the series of road bikes for beginners, this time on sprocket cleaning
The cleaning method is soaking cleaning.
(Target sprockets are made by SHIMANO)
Preparation

(1) Free Wheel Remover
(2) Sprocket remover
(3) Container
(4) Household dishwashing detergent
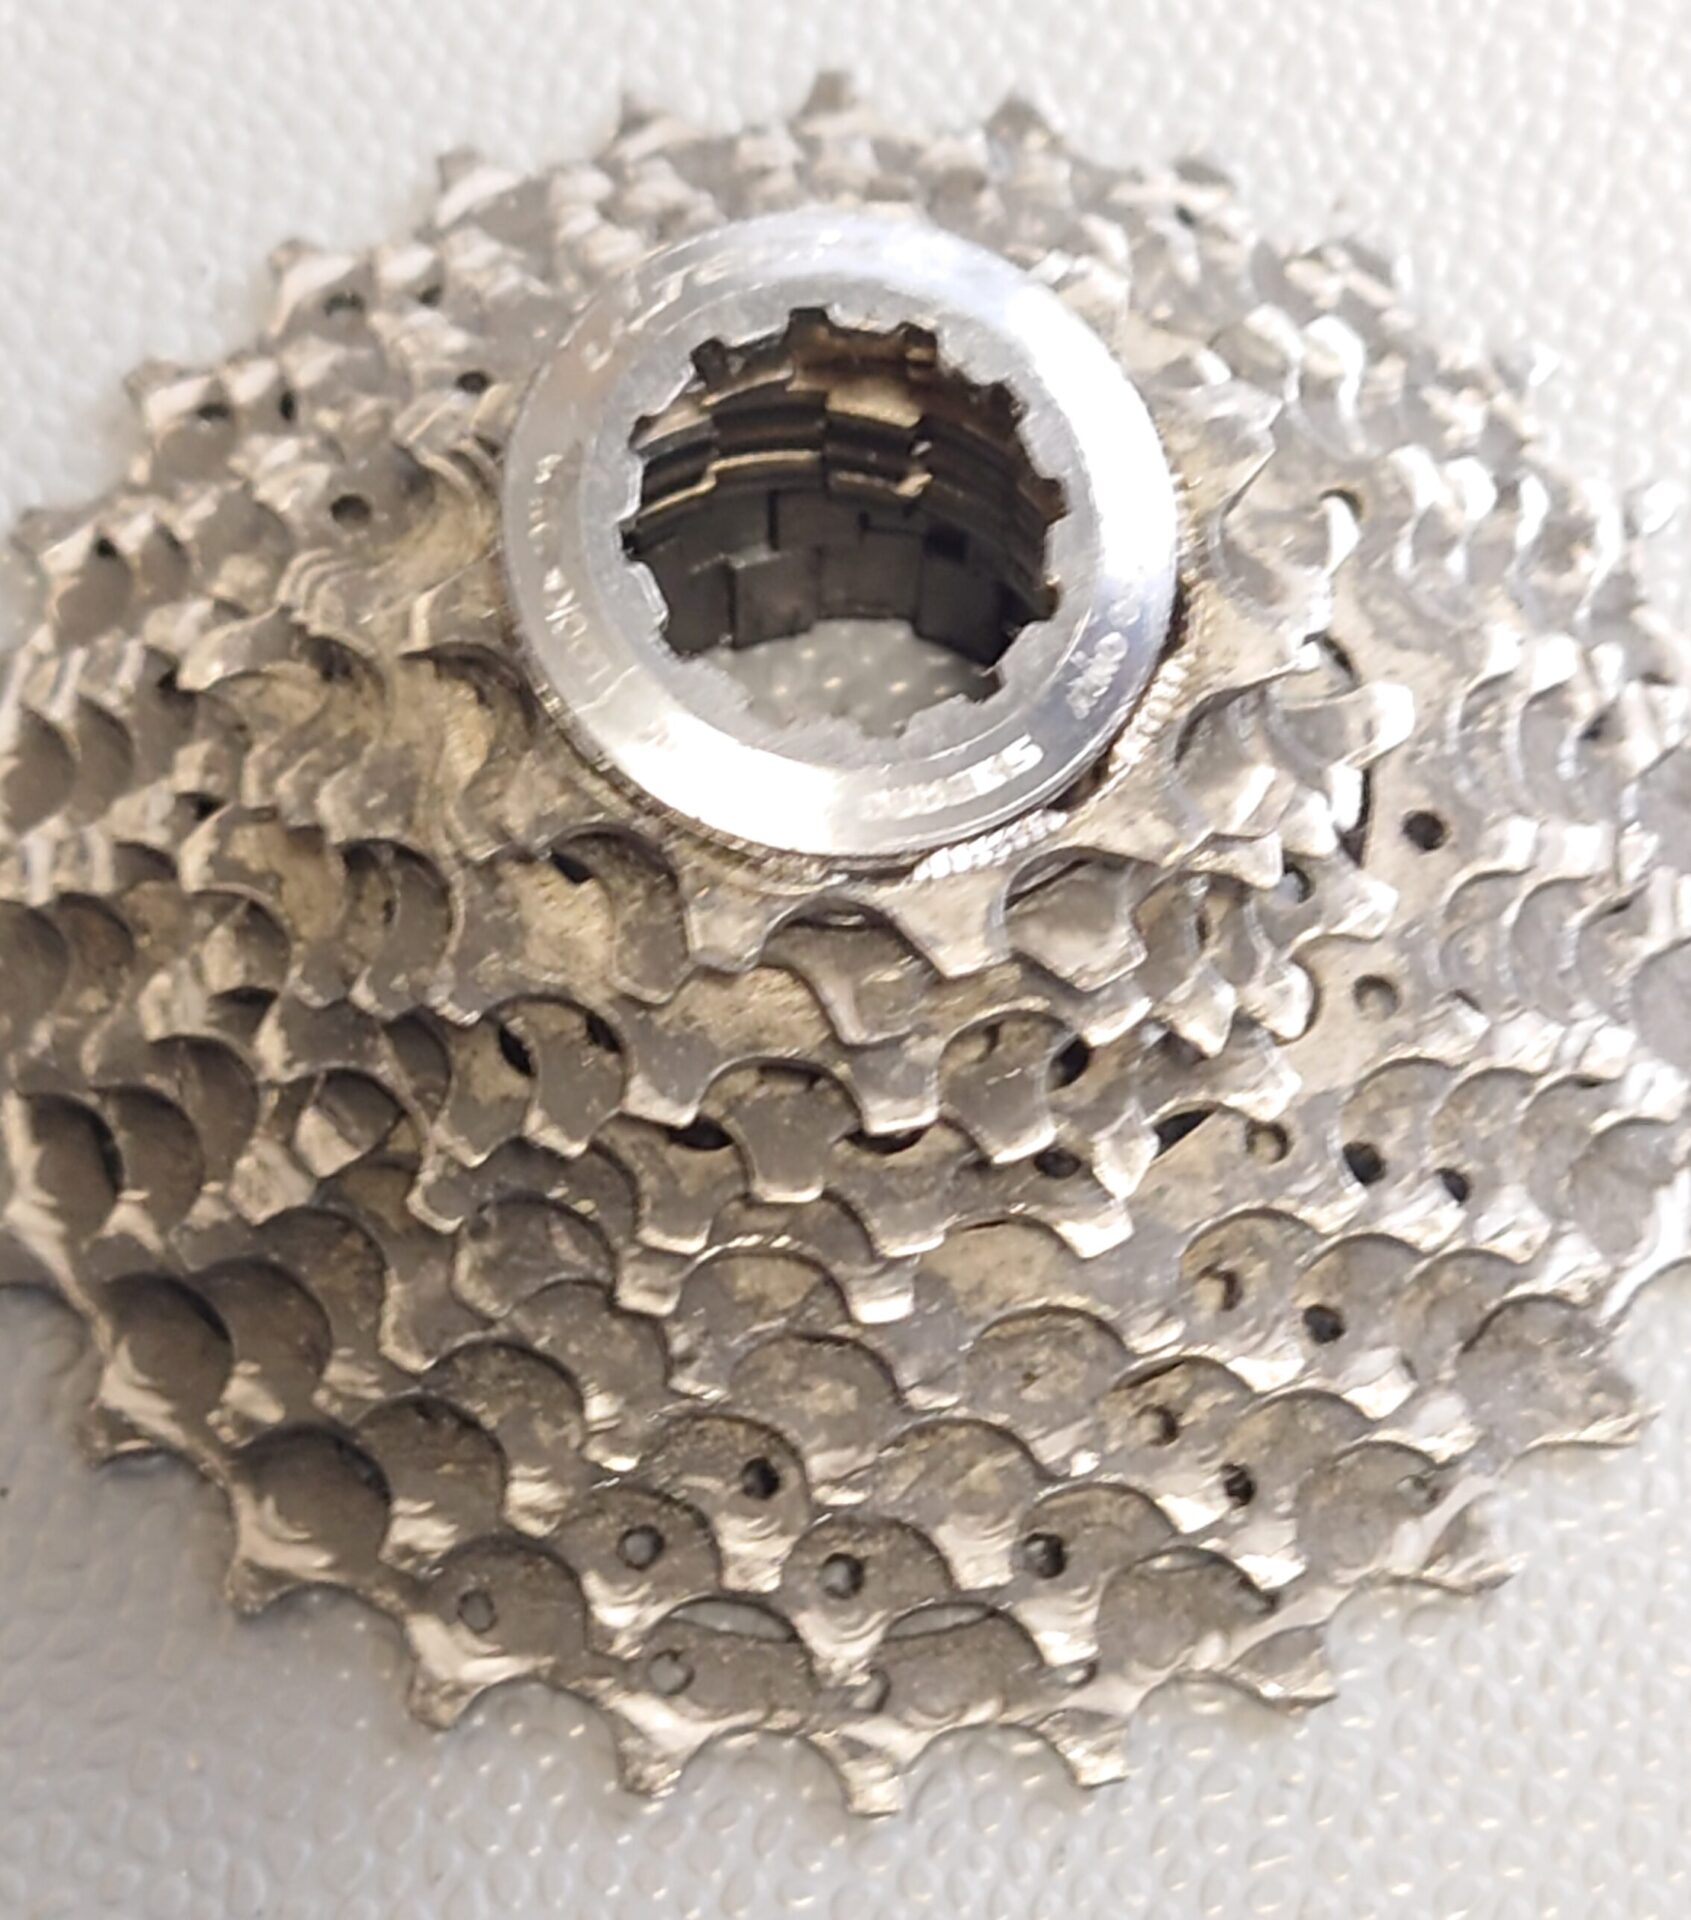
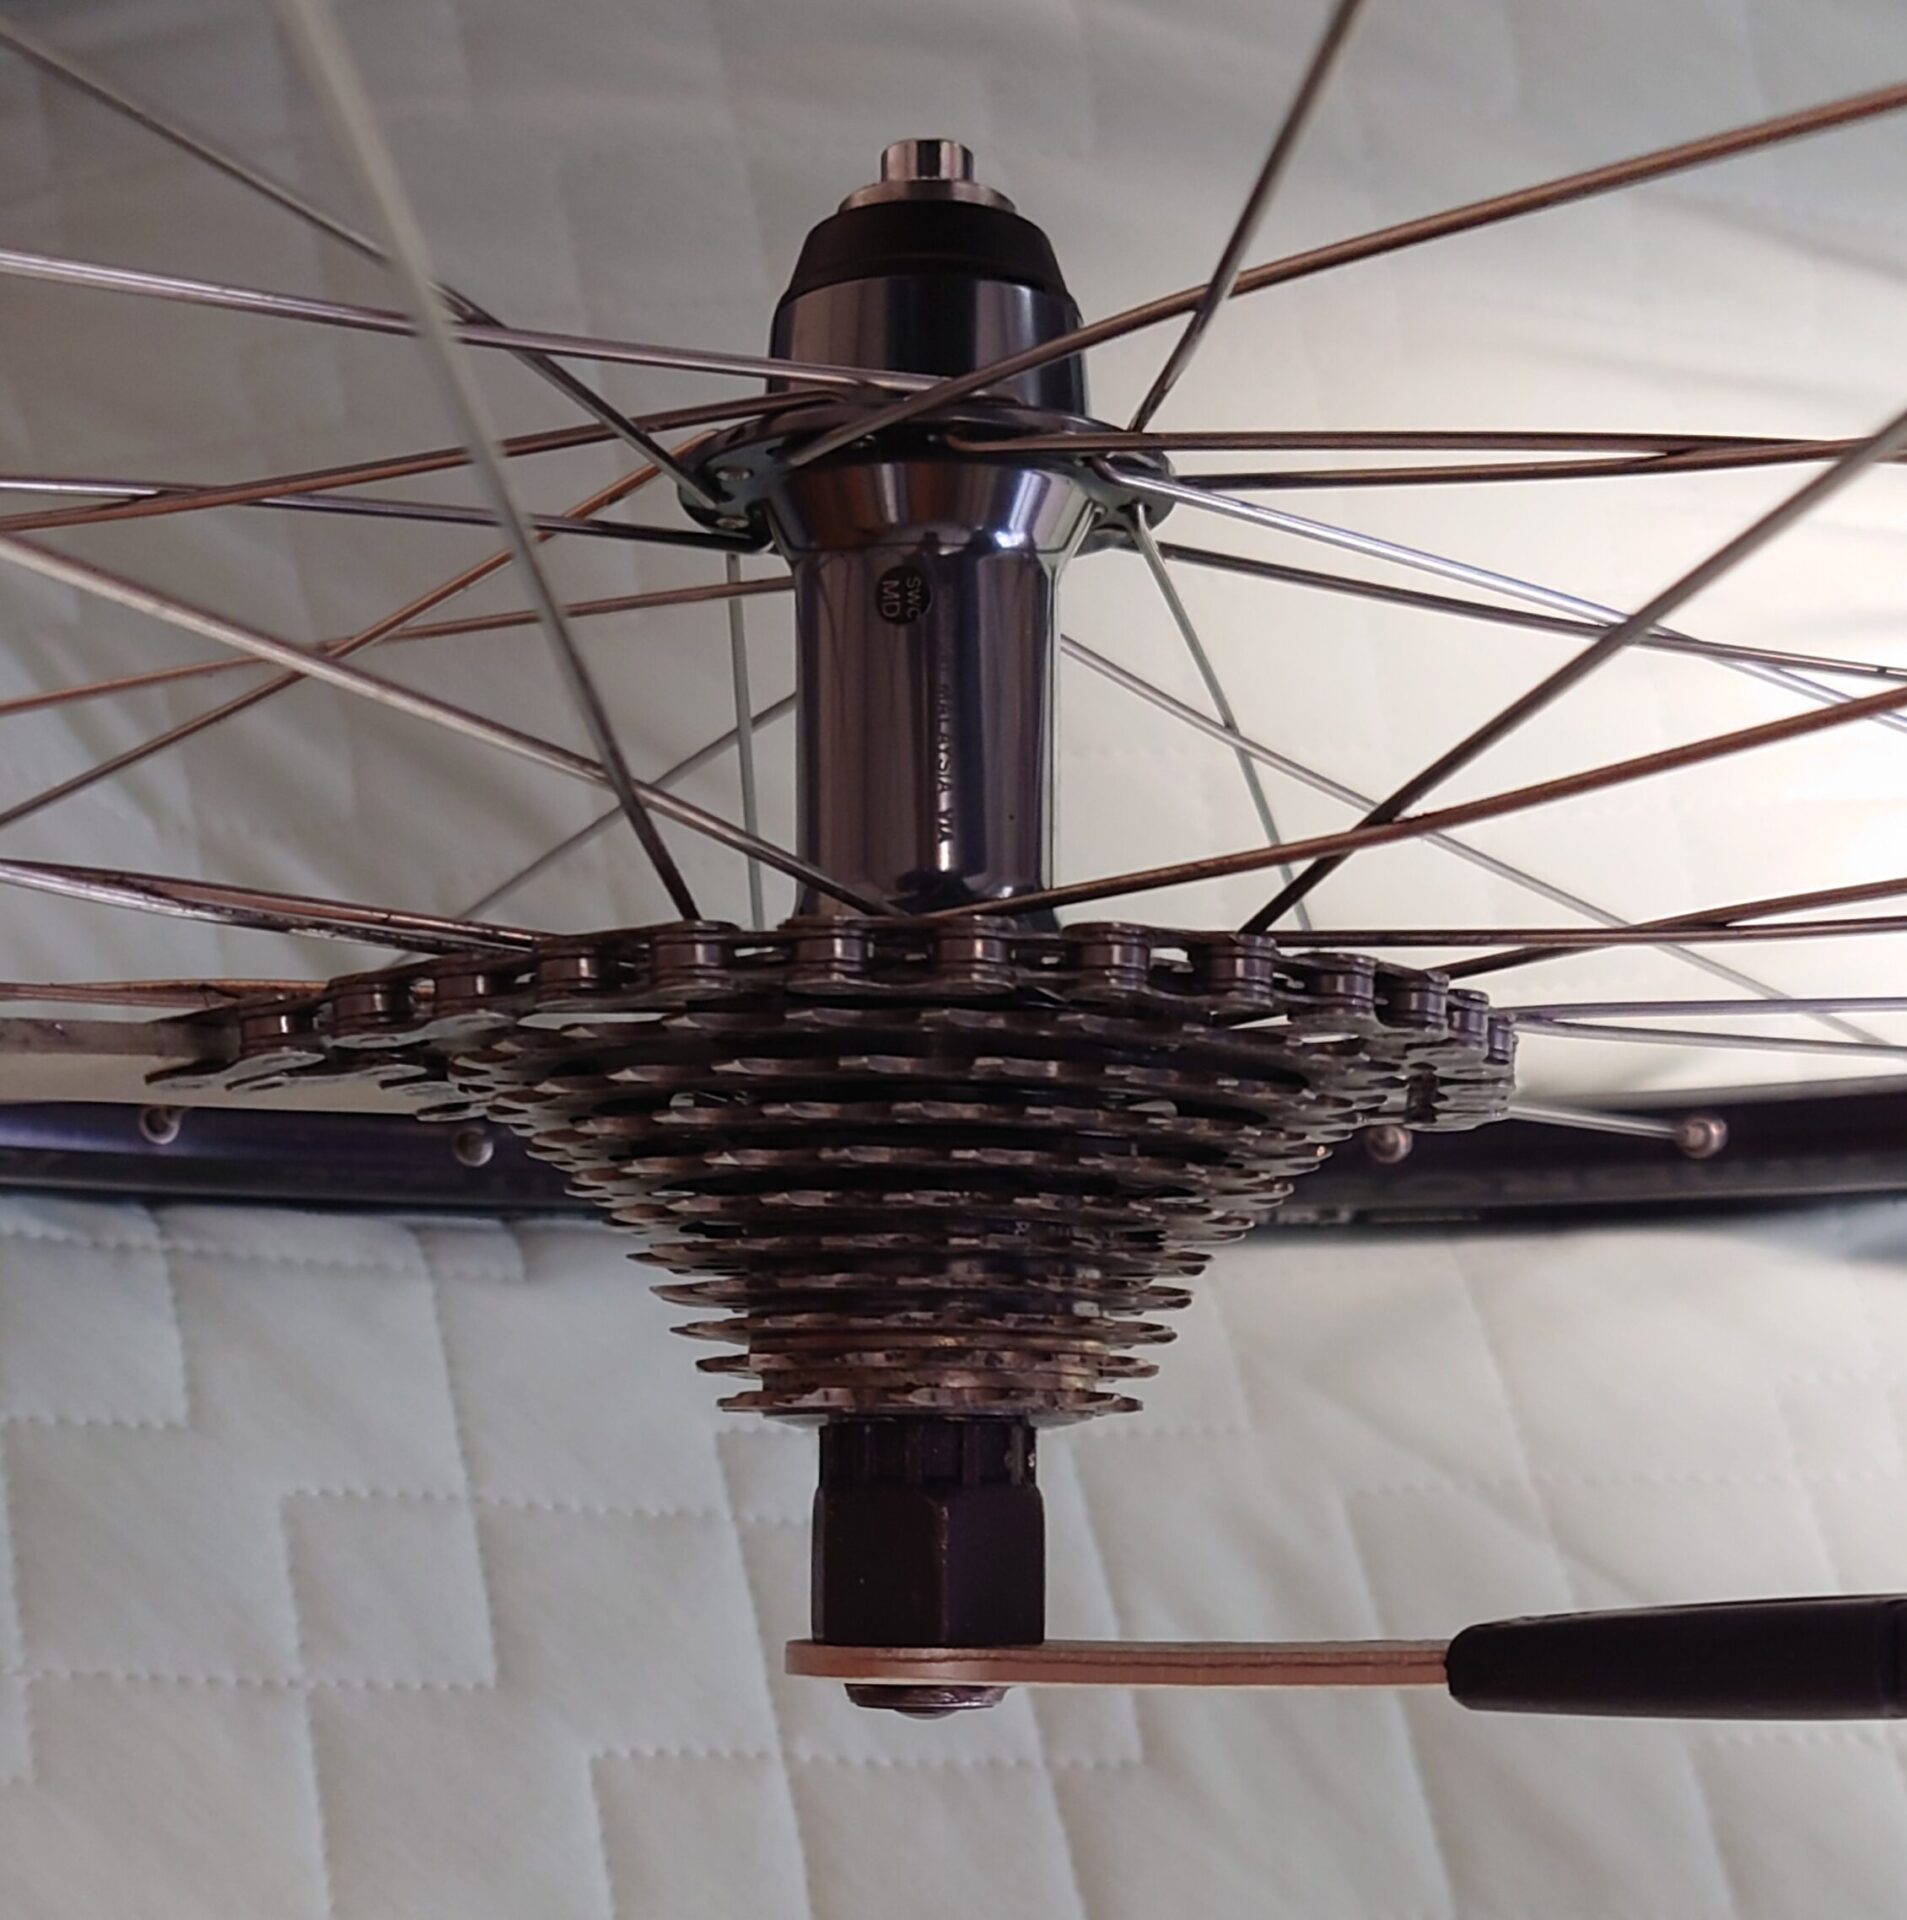
Dirty sprocket
Separated from wheel
First take an overall picture of the sprocket with your smartphone
(To avoid getting lost when assembling, since it comes apart when disassembled.)
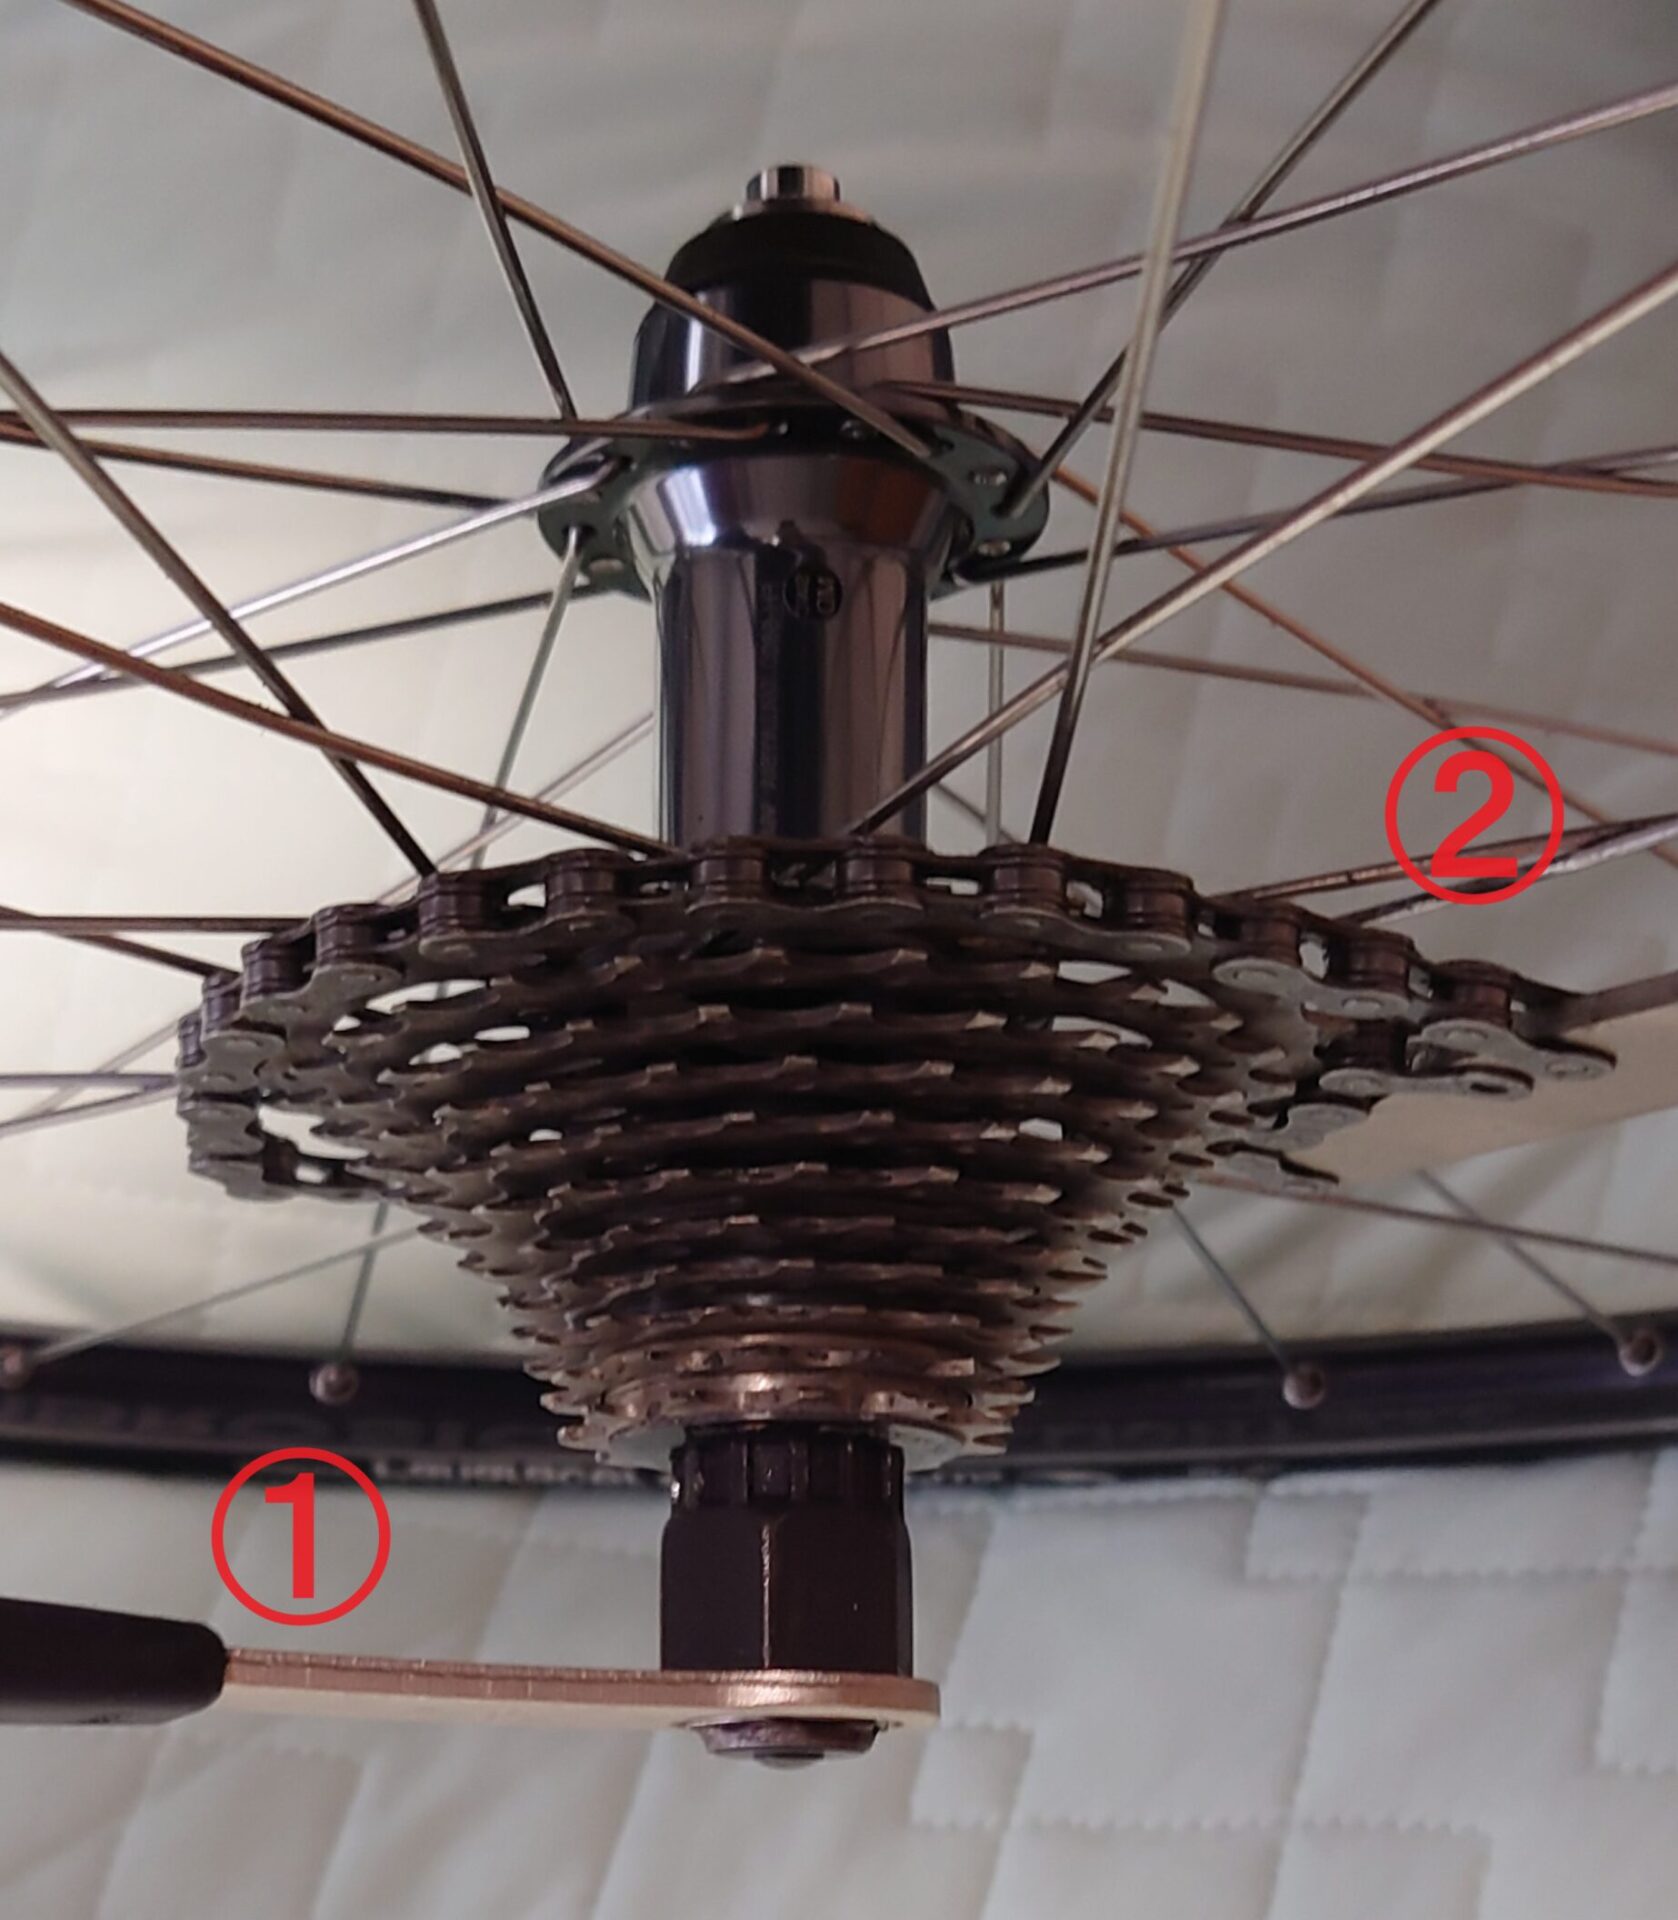
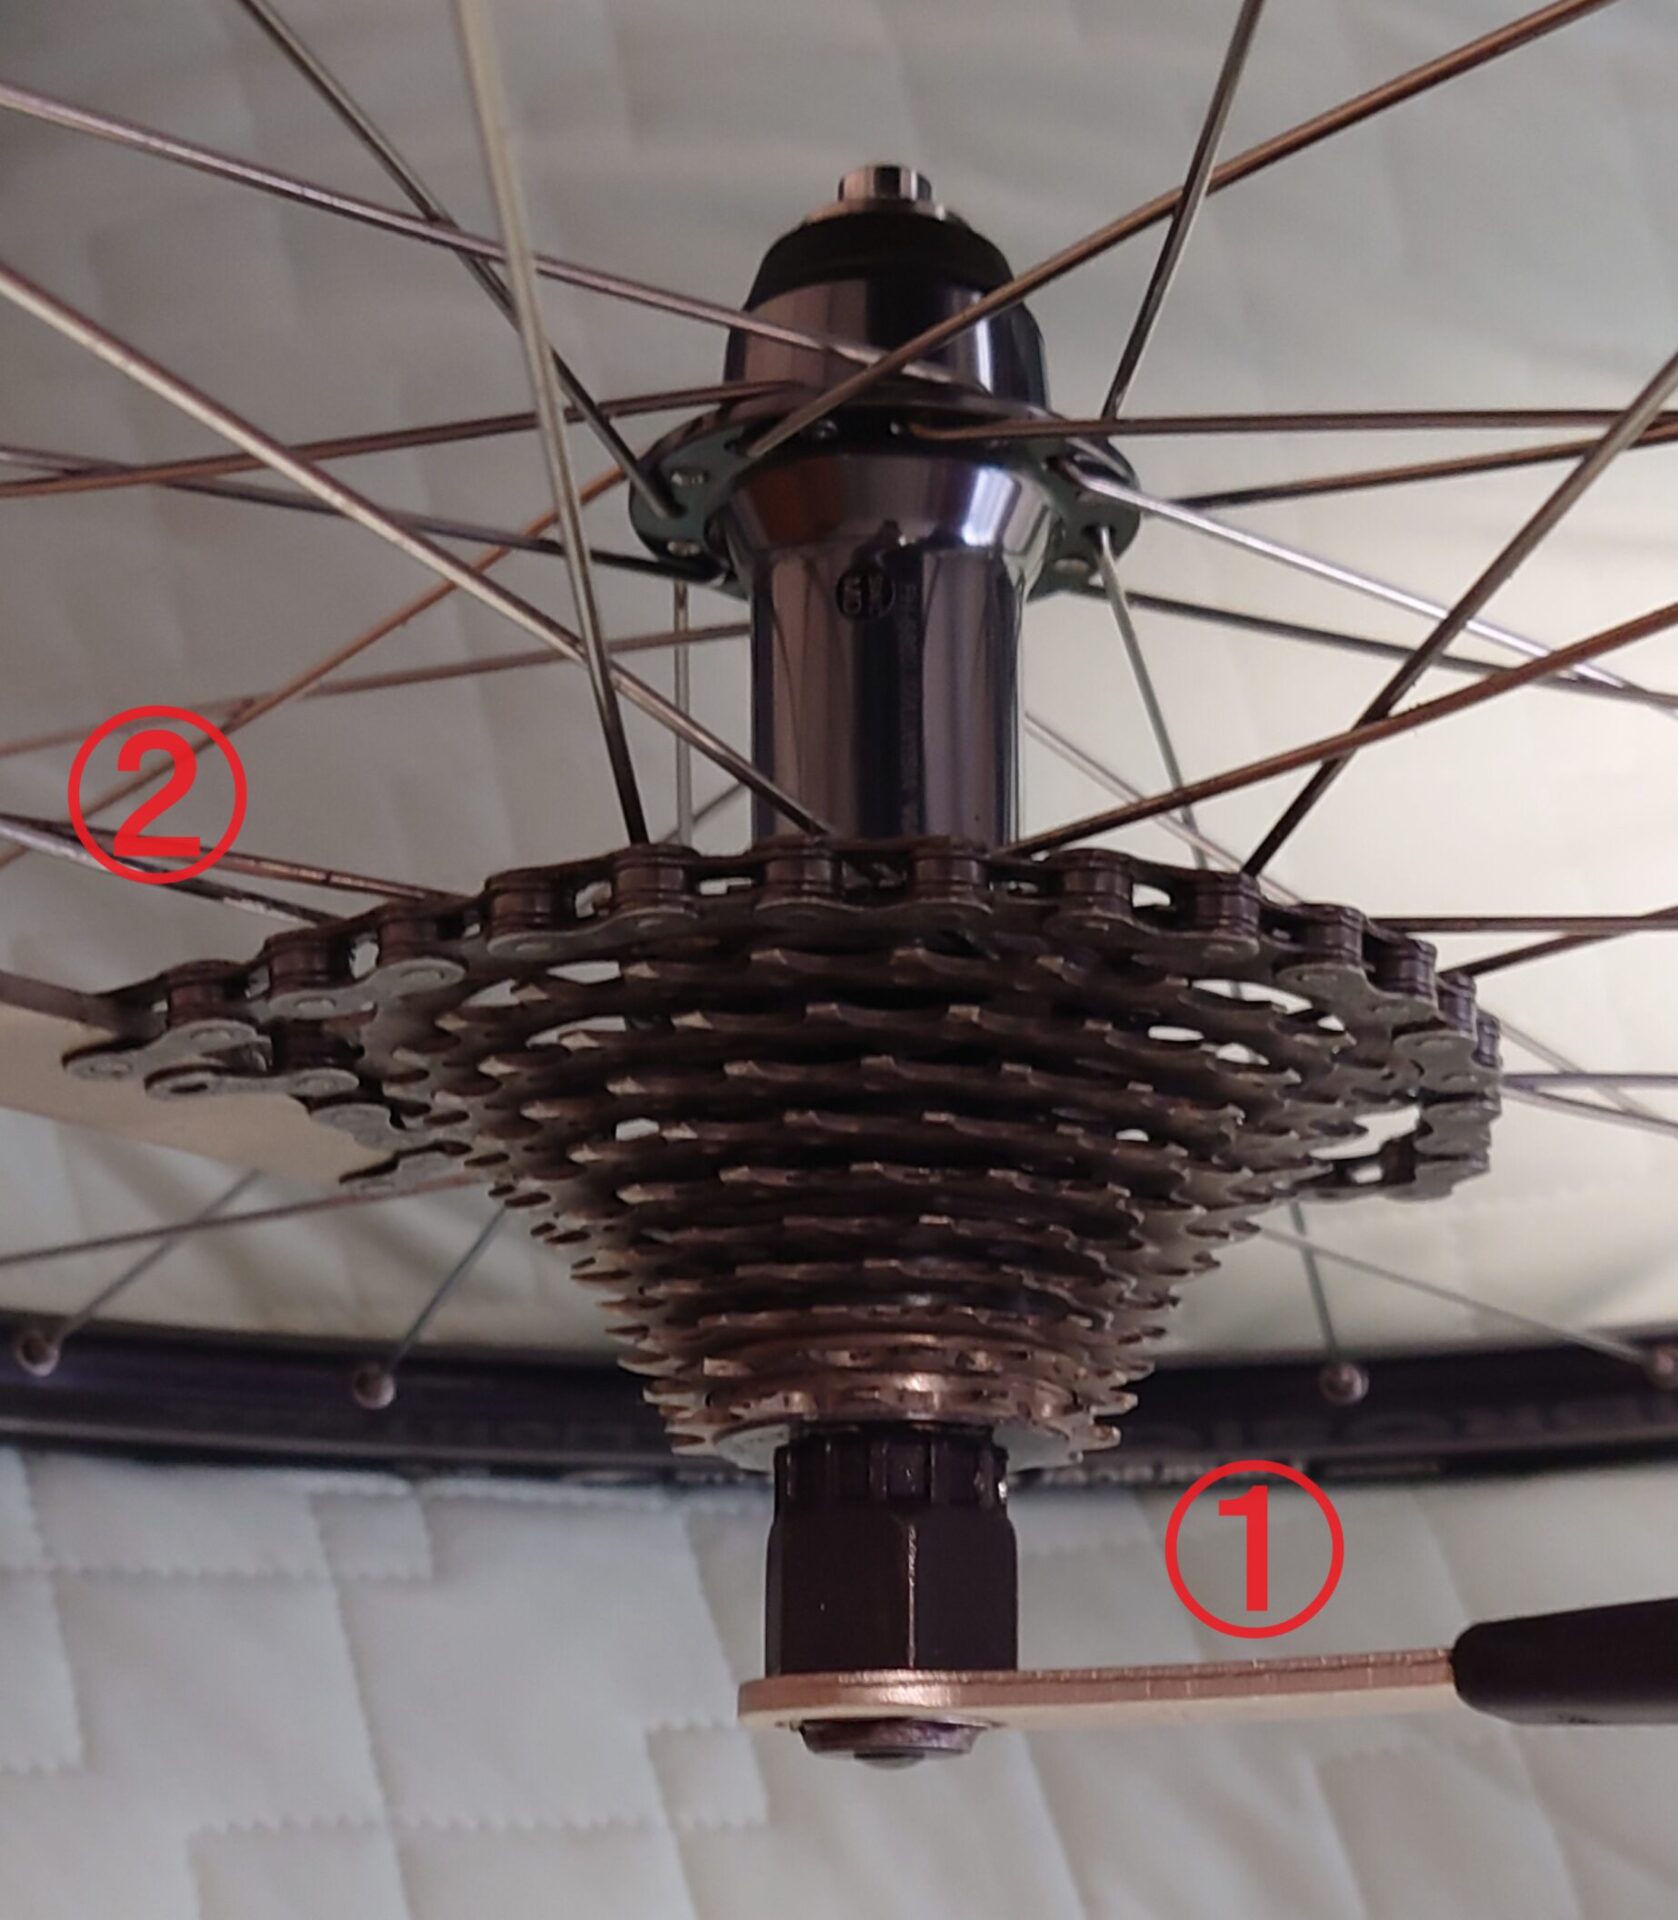
Set (1) free wheel remover and (2) sprocket remover as shown in the image.
I hang the sprocket remover on the largest ring, but the second is best.
(This is because they may stain the wheels or damage them when the tool comes off.)
After completing the set, (2) Apply force to fix the position of the sprocket remover, (1) Apply force to the free wheel remover to loosen it. (To use the image as an example, push it downward.)
It takes some getting used to, but the wheel may fall over or the tool may come off.
(Be sure to wear gloves for safety.)
Soak the disassembled sprocket in diluted detergent
Put the detergent diluted with water in the prepared bucket and stir thoroughly.
(My dilution ratio is 10 water : 1 detergent)
Then, soak the disassembled sprocket in diluted detergent for 2 to 3 days.
From time to time, the detergent is agitated to lift out the dirt.
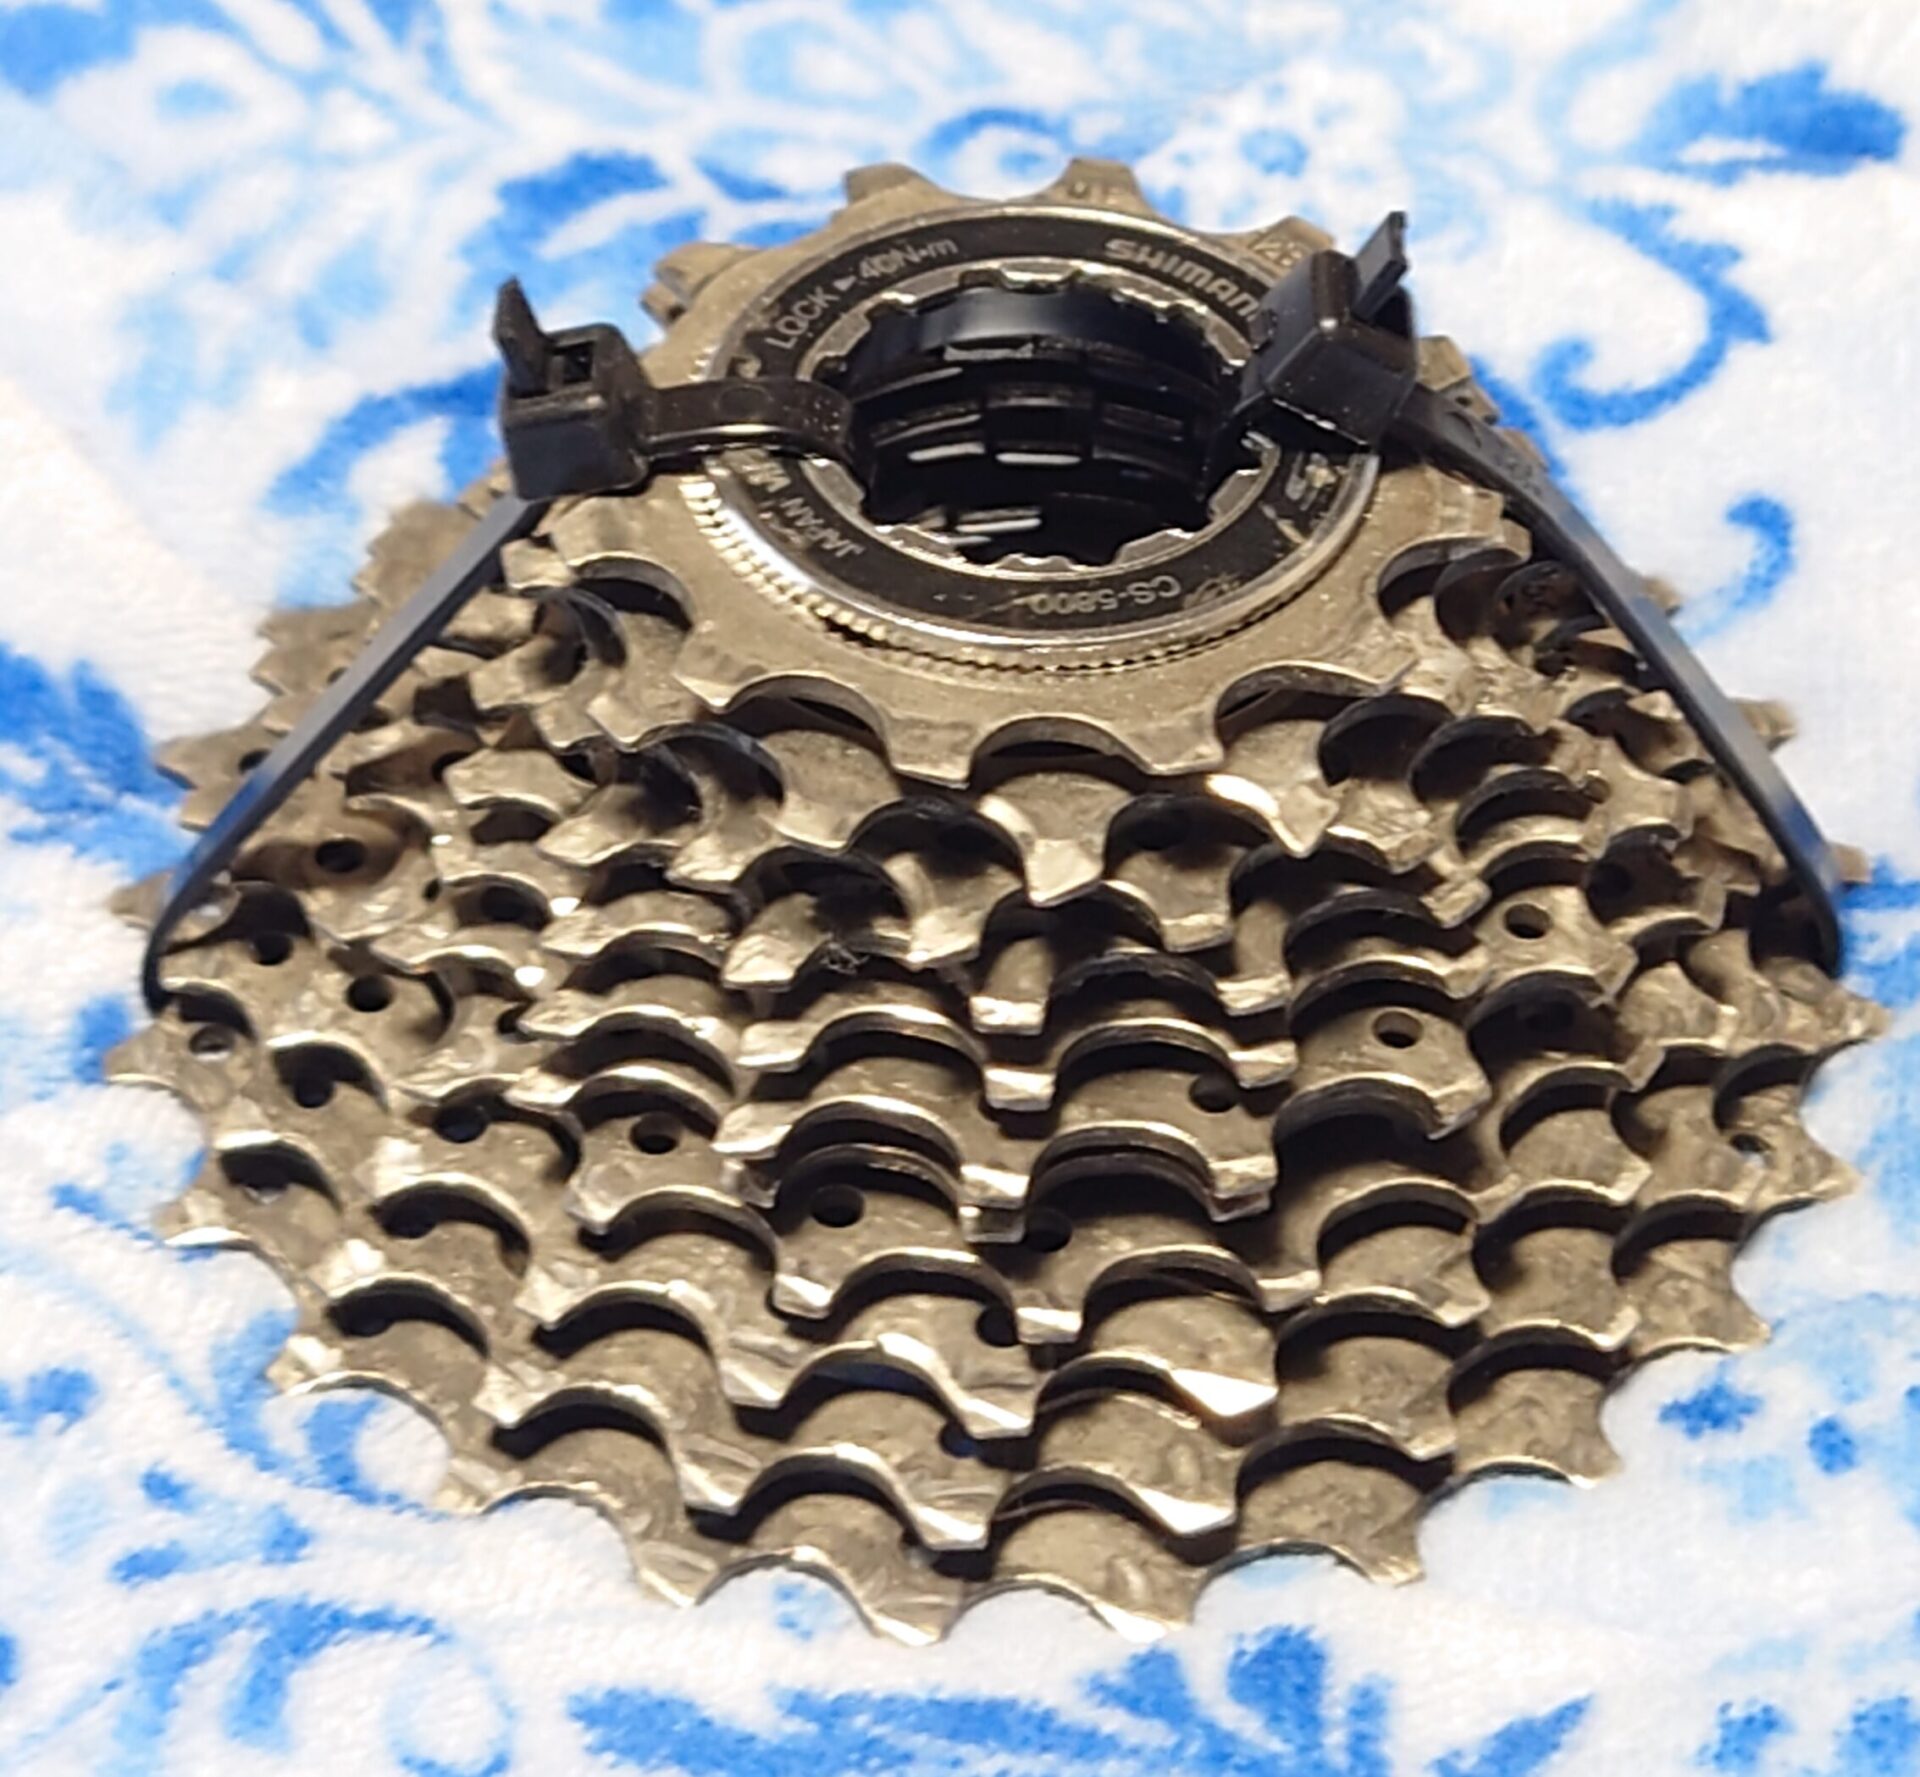
Before soaking, the disassembled sprockets should be tied together with string to make the work easier later
This completes the soak cleaning.
Wash thoroughly after soaking and washing
Remove the sprockets after soaking for 2-3 days and rinse them
Lightly scrub with a brush to easily remove dirt
After rinsing, wipe well with a non-woven cloth and dry.
assembly
Assemble the sprockets to the hub.
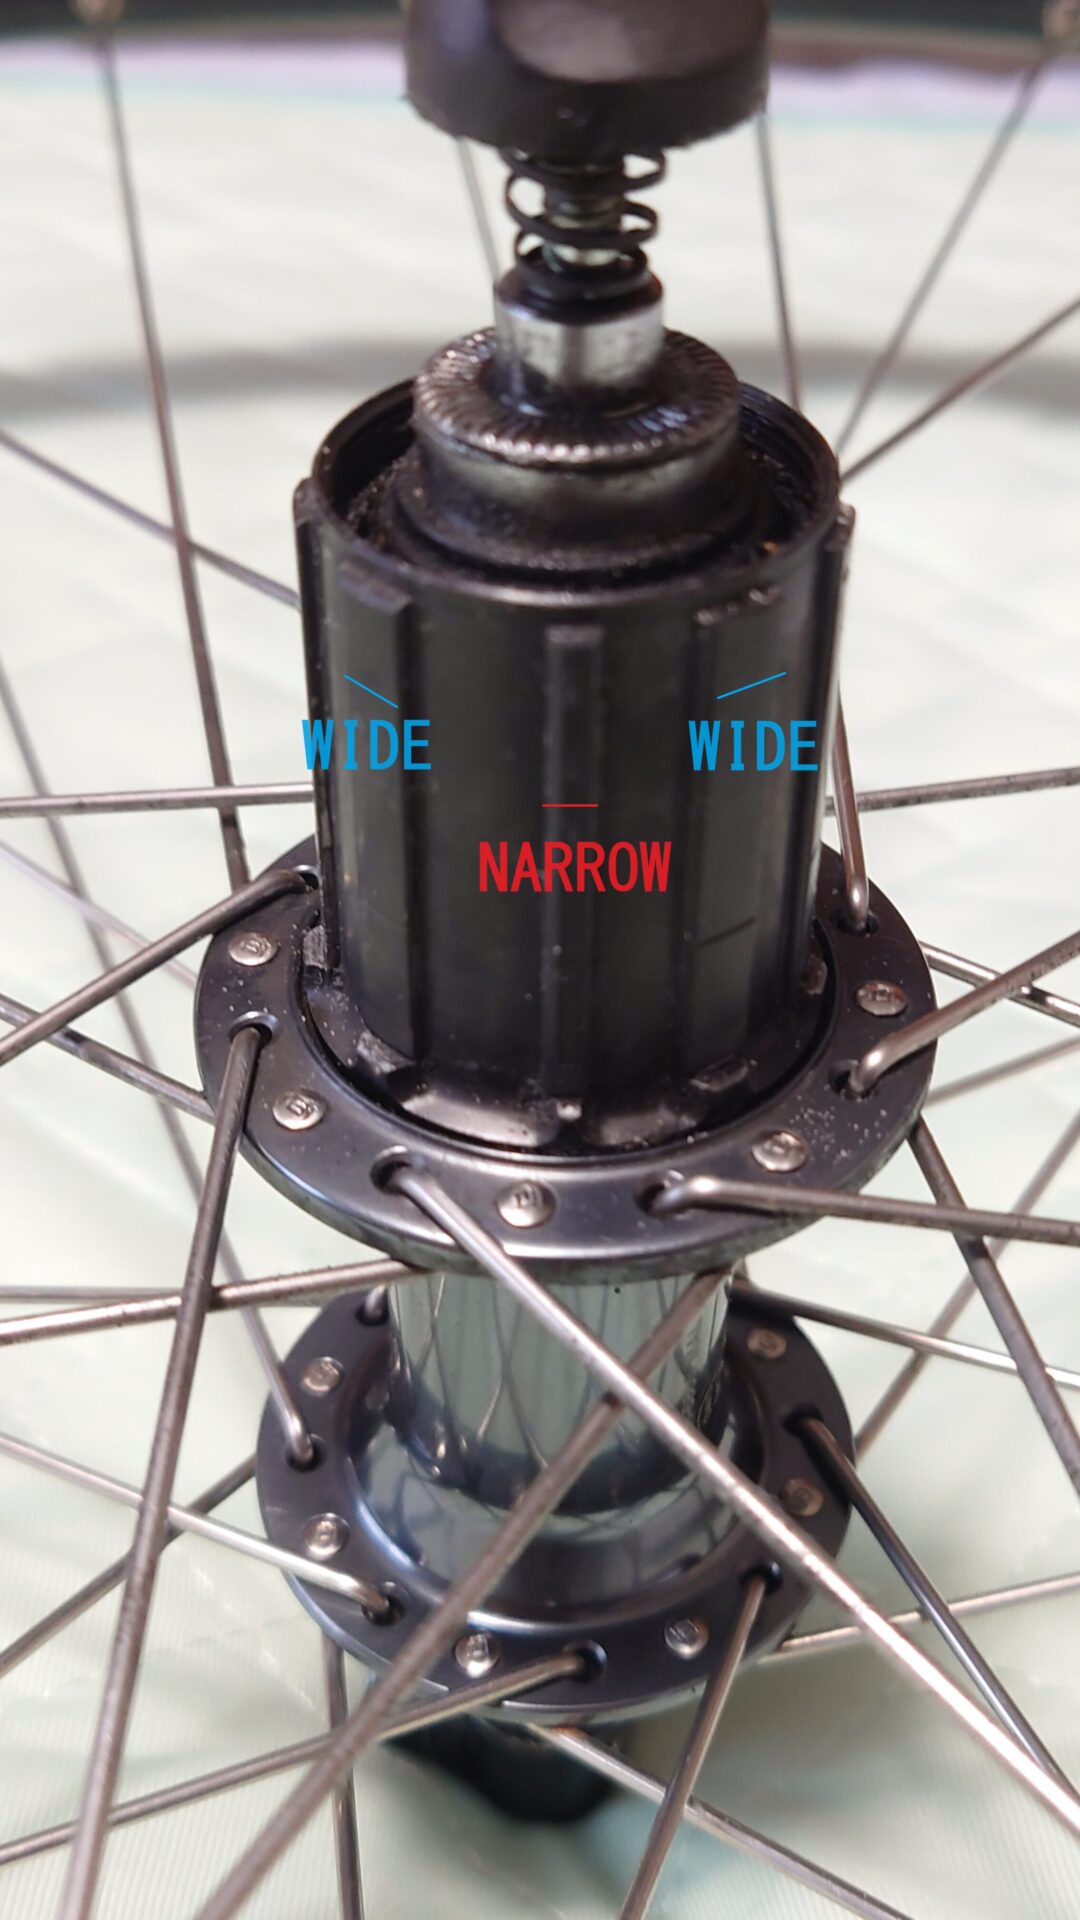
The sprocket is mounted on the hub in a fixed direction, so please check the direction before mounting.
Do not forcefully insert the product (it will be damaged).
Usually assembled smoothly and easily
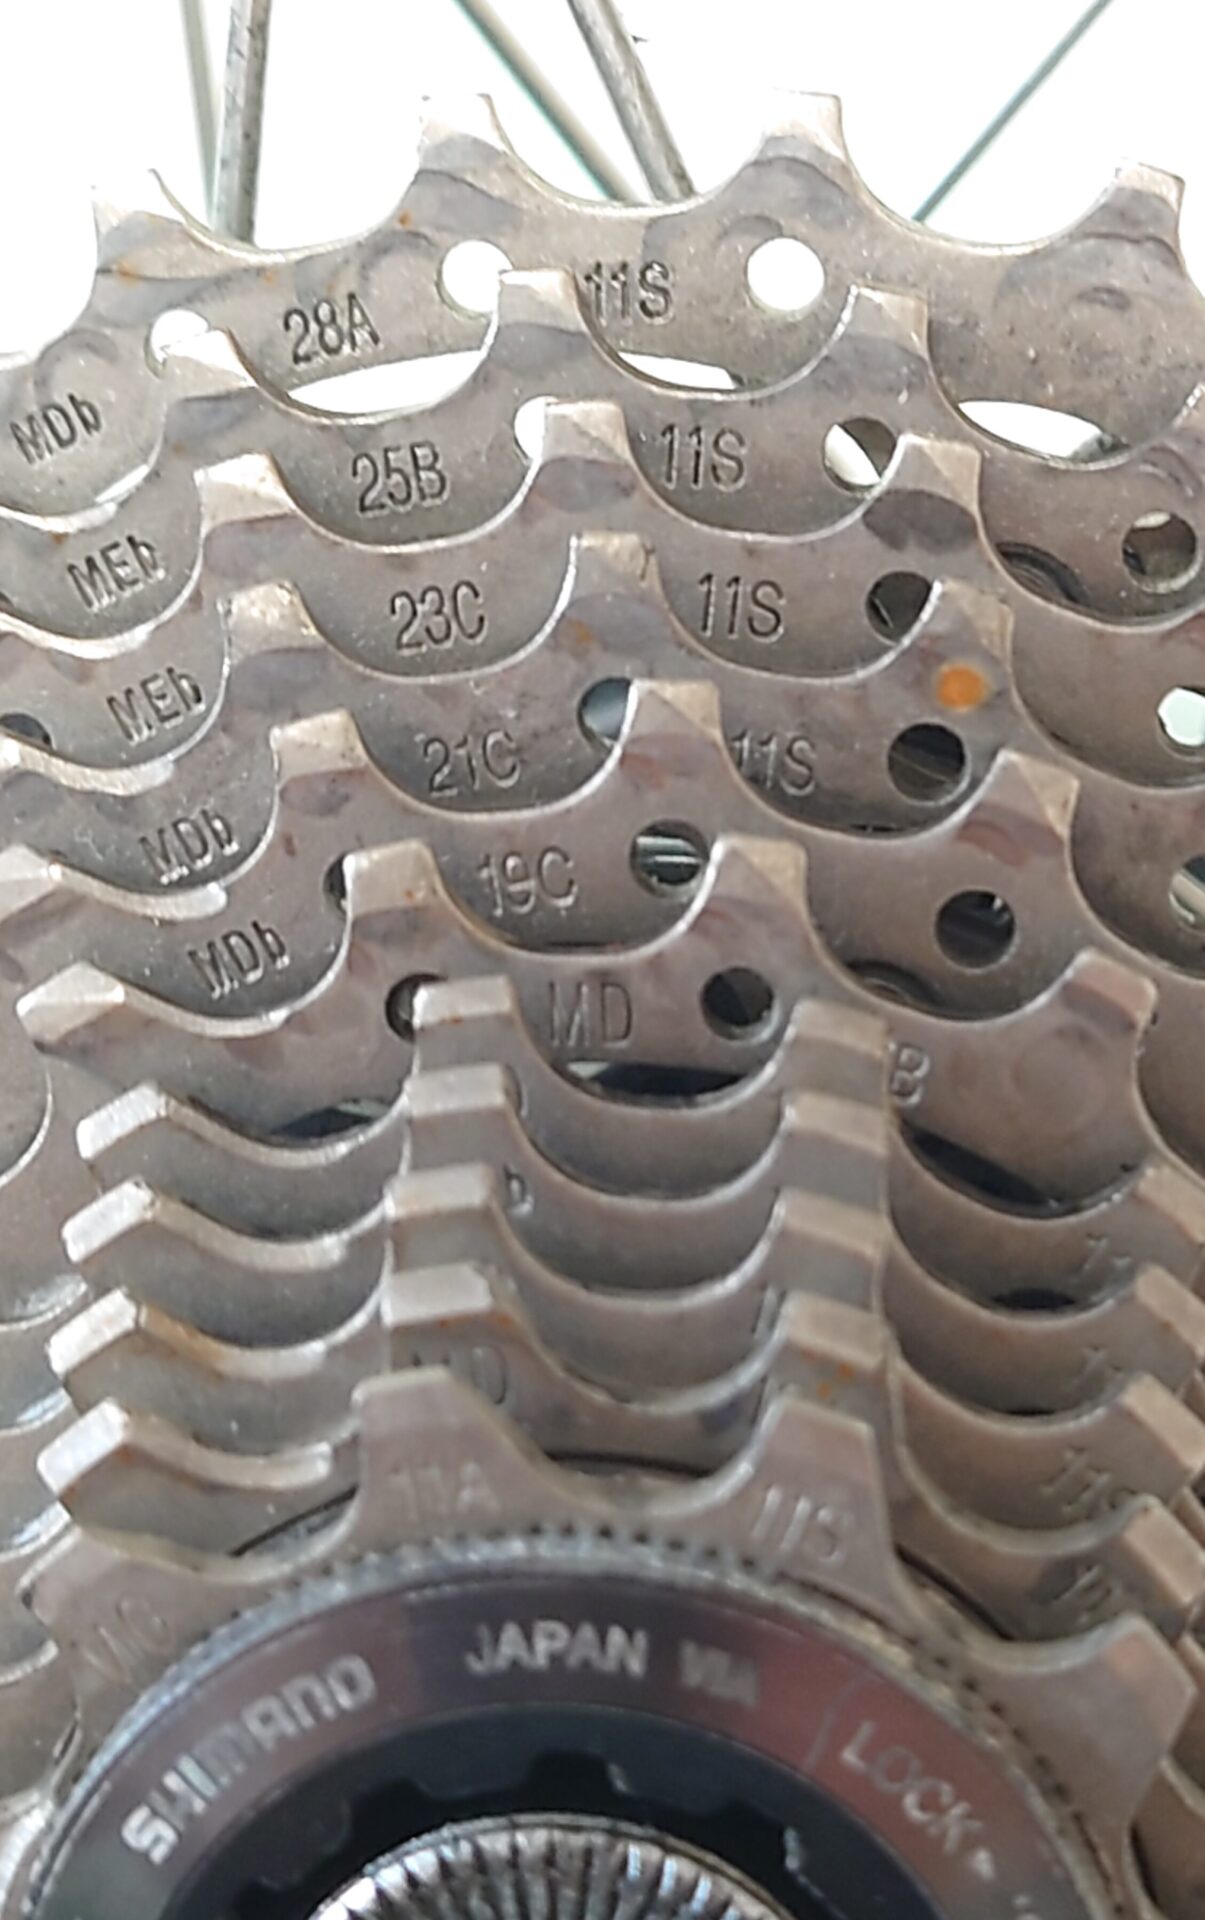
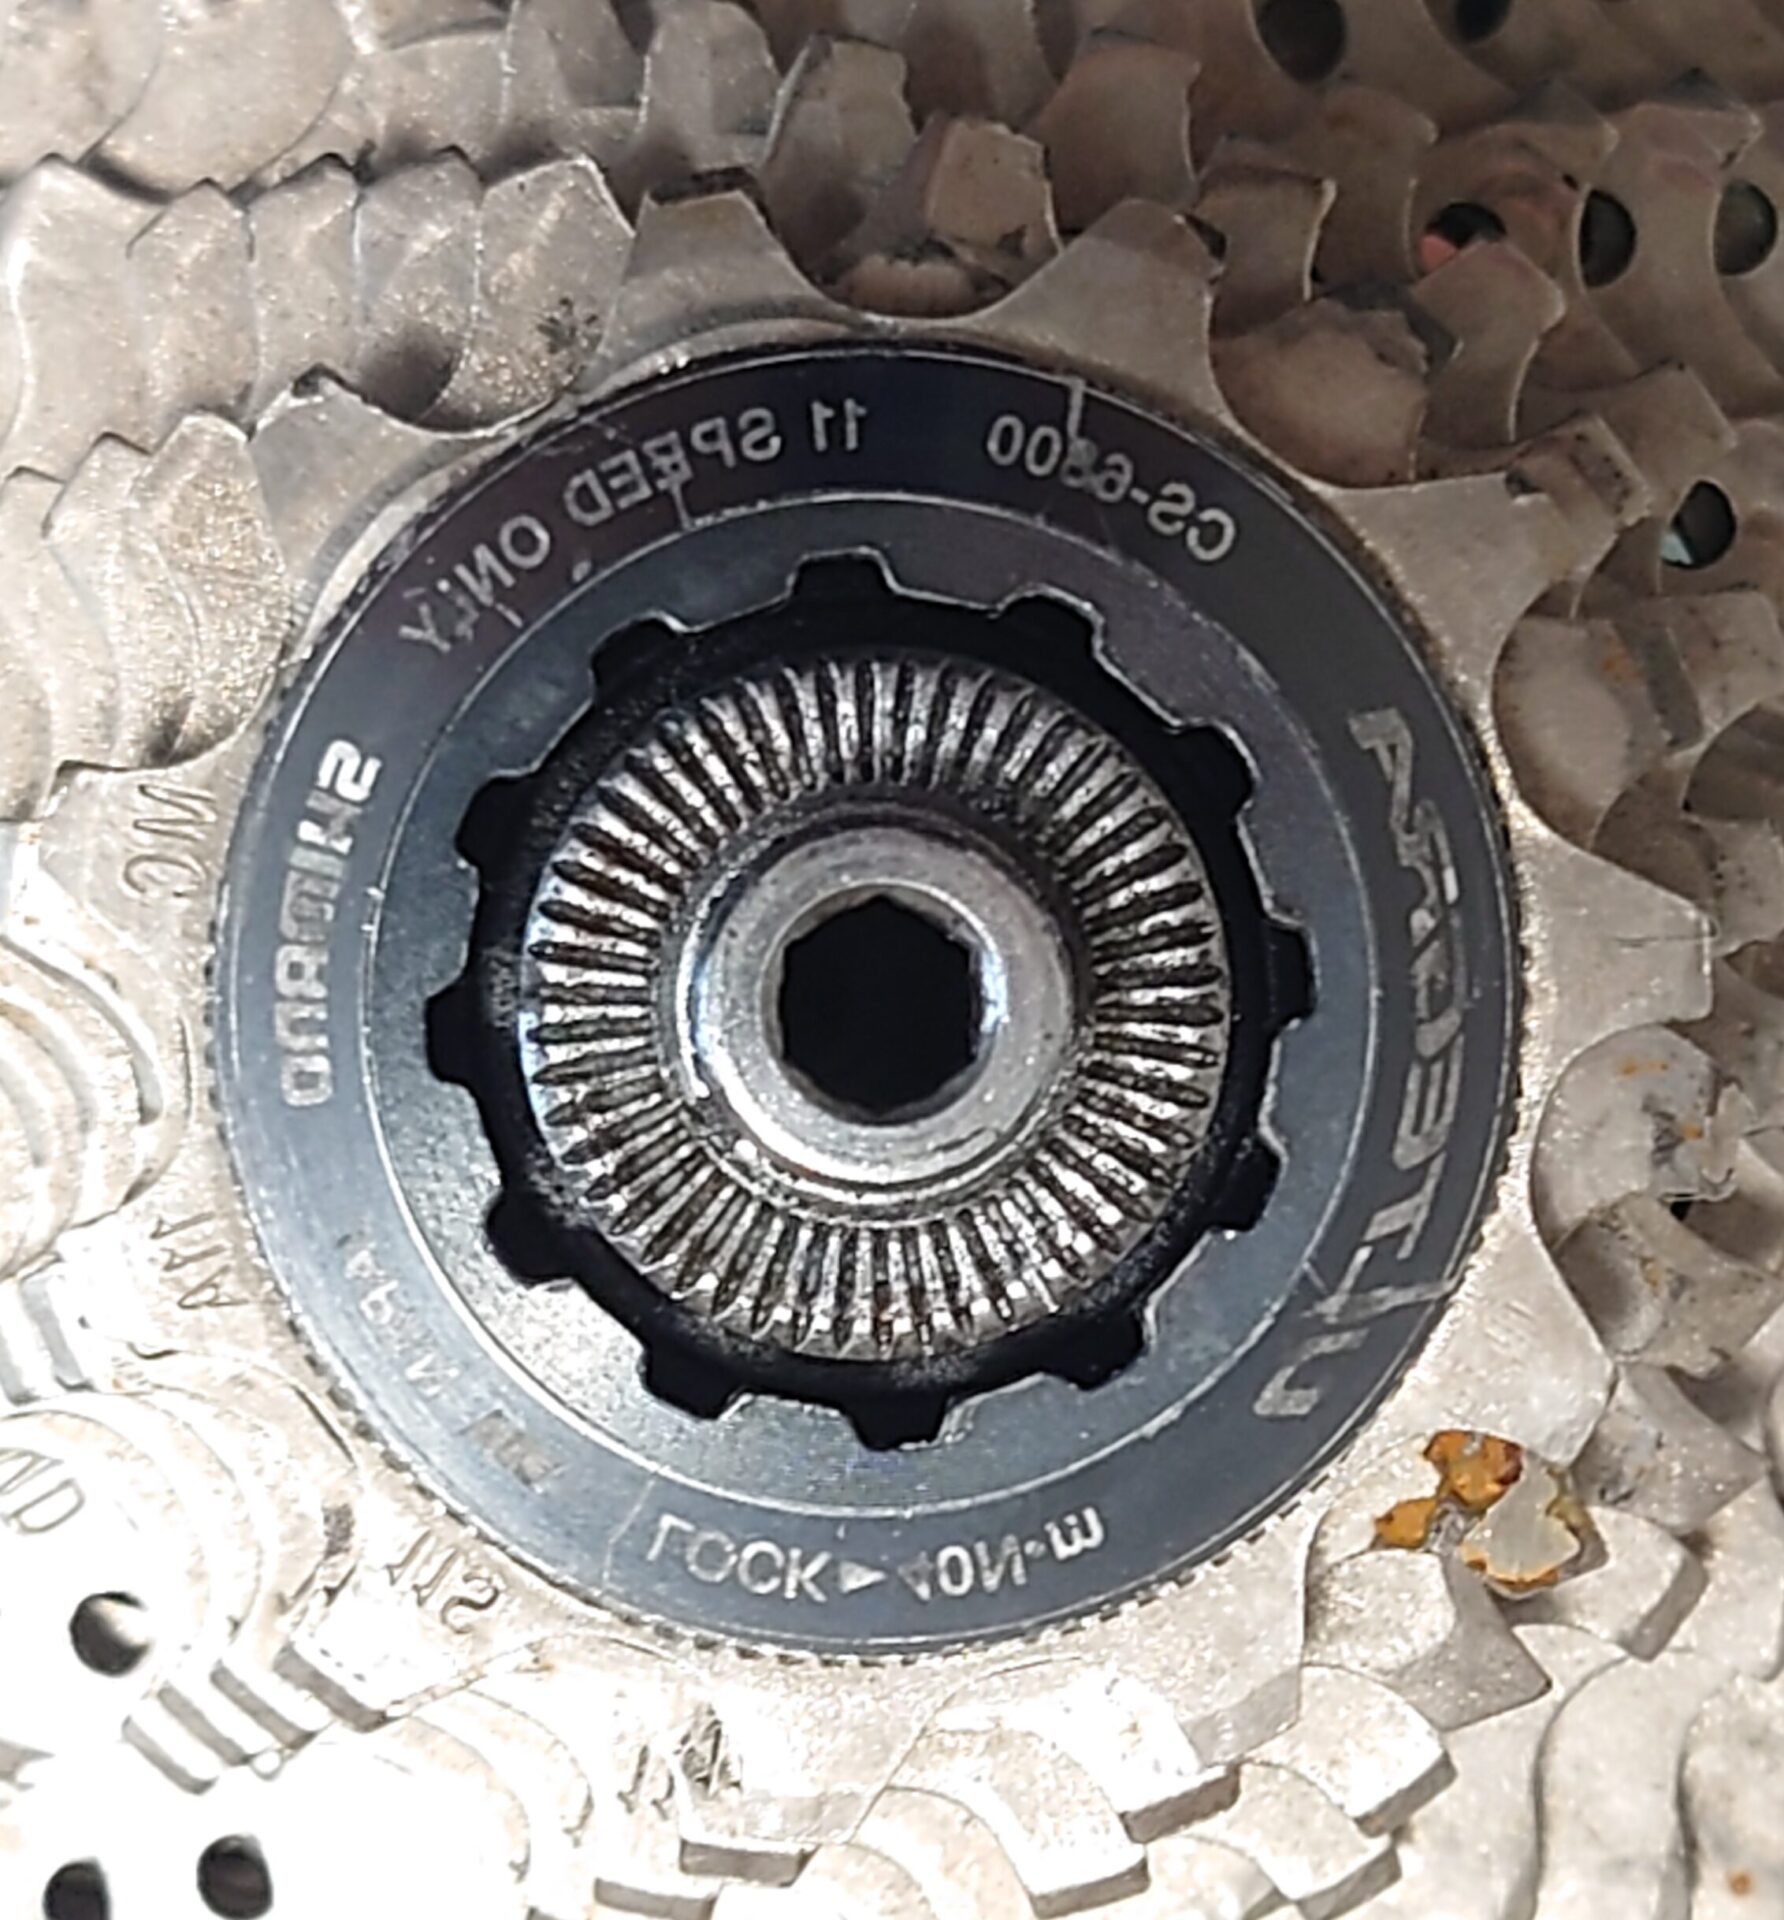
When assembled correctly, the numerals are aligned as shown in the image above.
Finally, use (1) free wheel remover and (2) sprocket remover to tighten the wheel firmly.
Apply downward force in the same way as when disassembling (the direction of the tool is reversed).
When the tightening is nearing its end, the effect of the lock ring is to make the hand feel “Gggggg! and you will feel a sensation in your hand.
This feeling signals the end of tightening.
It is reverse-threaded, so it is unlikely to loosen while driving.
(It depends on driving conditions and frequency of driving, so I can’t say for sure.)
I had no problem even when I drove 6,000 km a year
(on the contrary, I had trouble loosening it when I disassembled it).
The manufacturer’s recommendation is to use a torque wrench within the specified value, but hand-tightening is sufficient for beginners.
At the end
Road bikes retain their potential and last longer when properly maintained
Also, by checking the degree of dirt and wear and tear, you can understand your own habits and capabilities.
Use cold and rainy days for maintenance and a comfortable cycling life!
Read also
[Sponsor Links]

コメント Comment